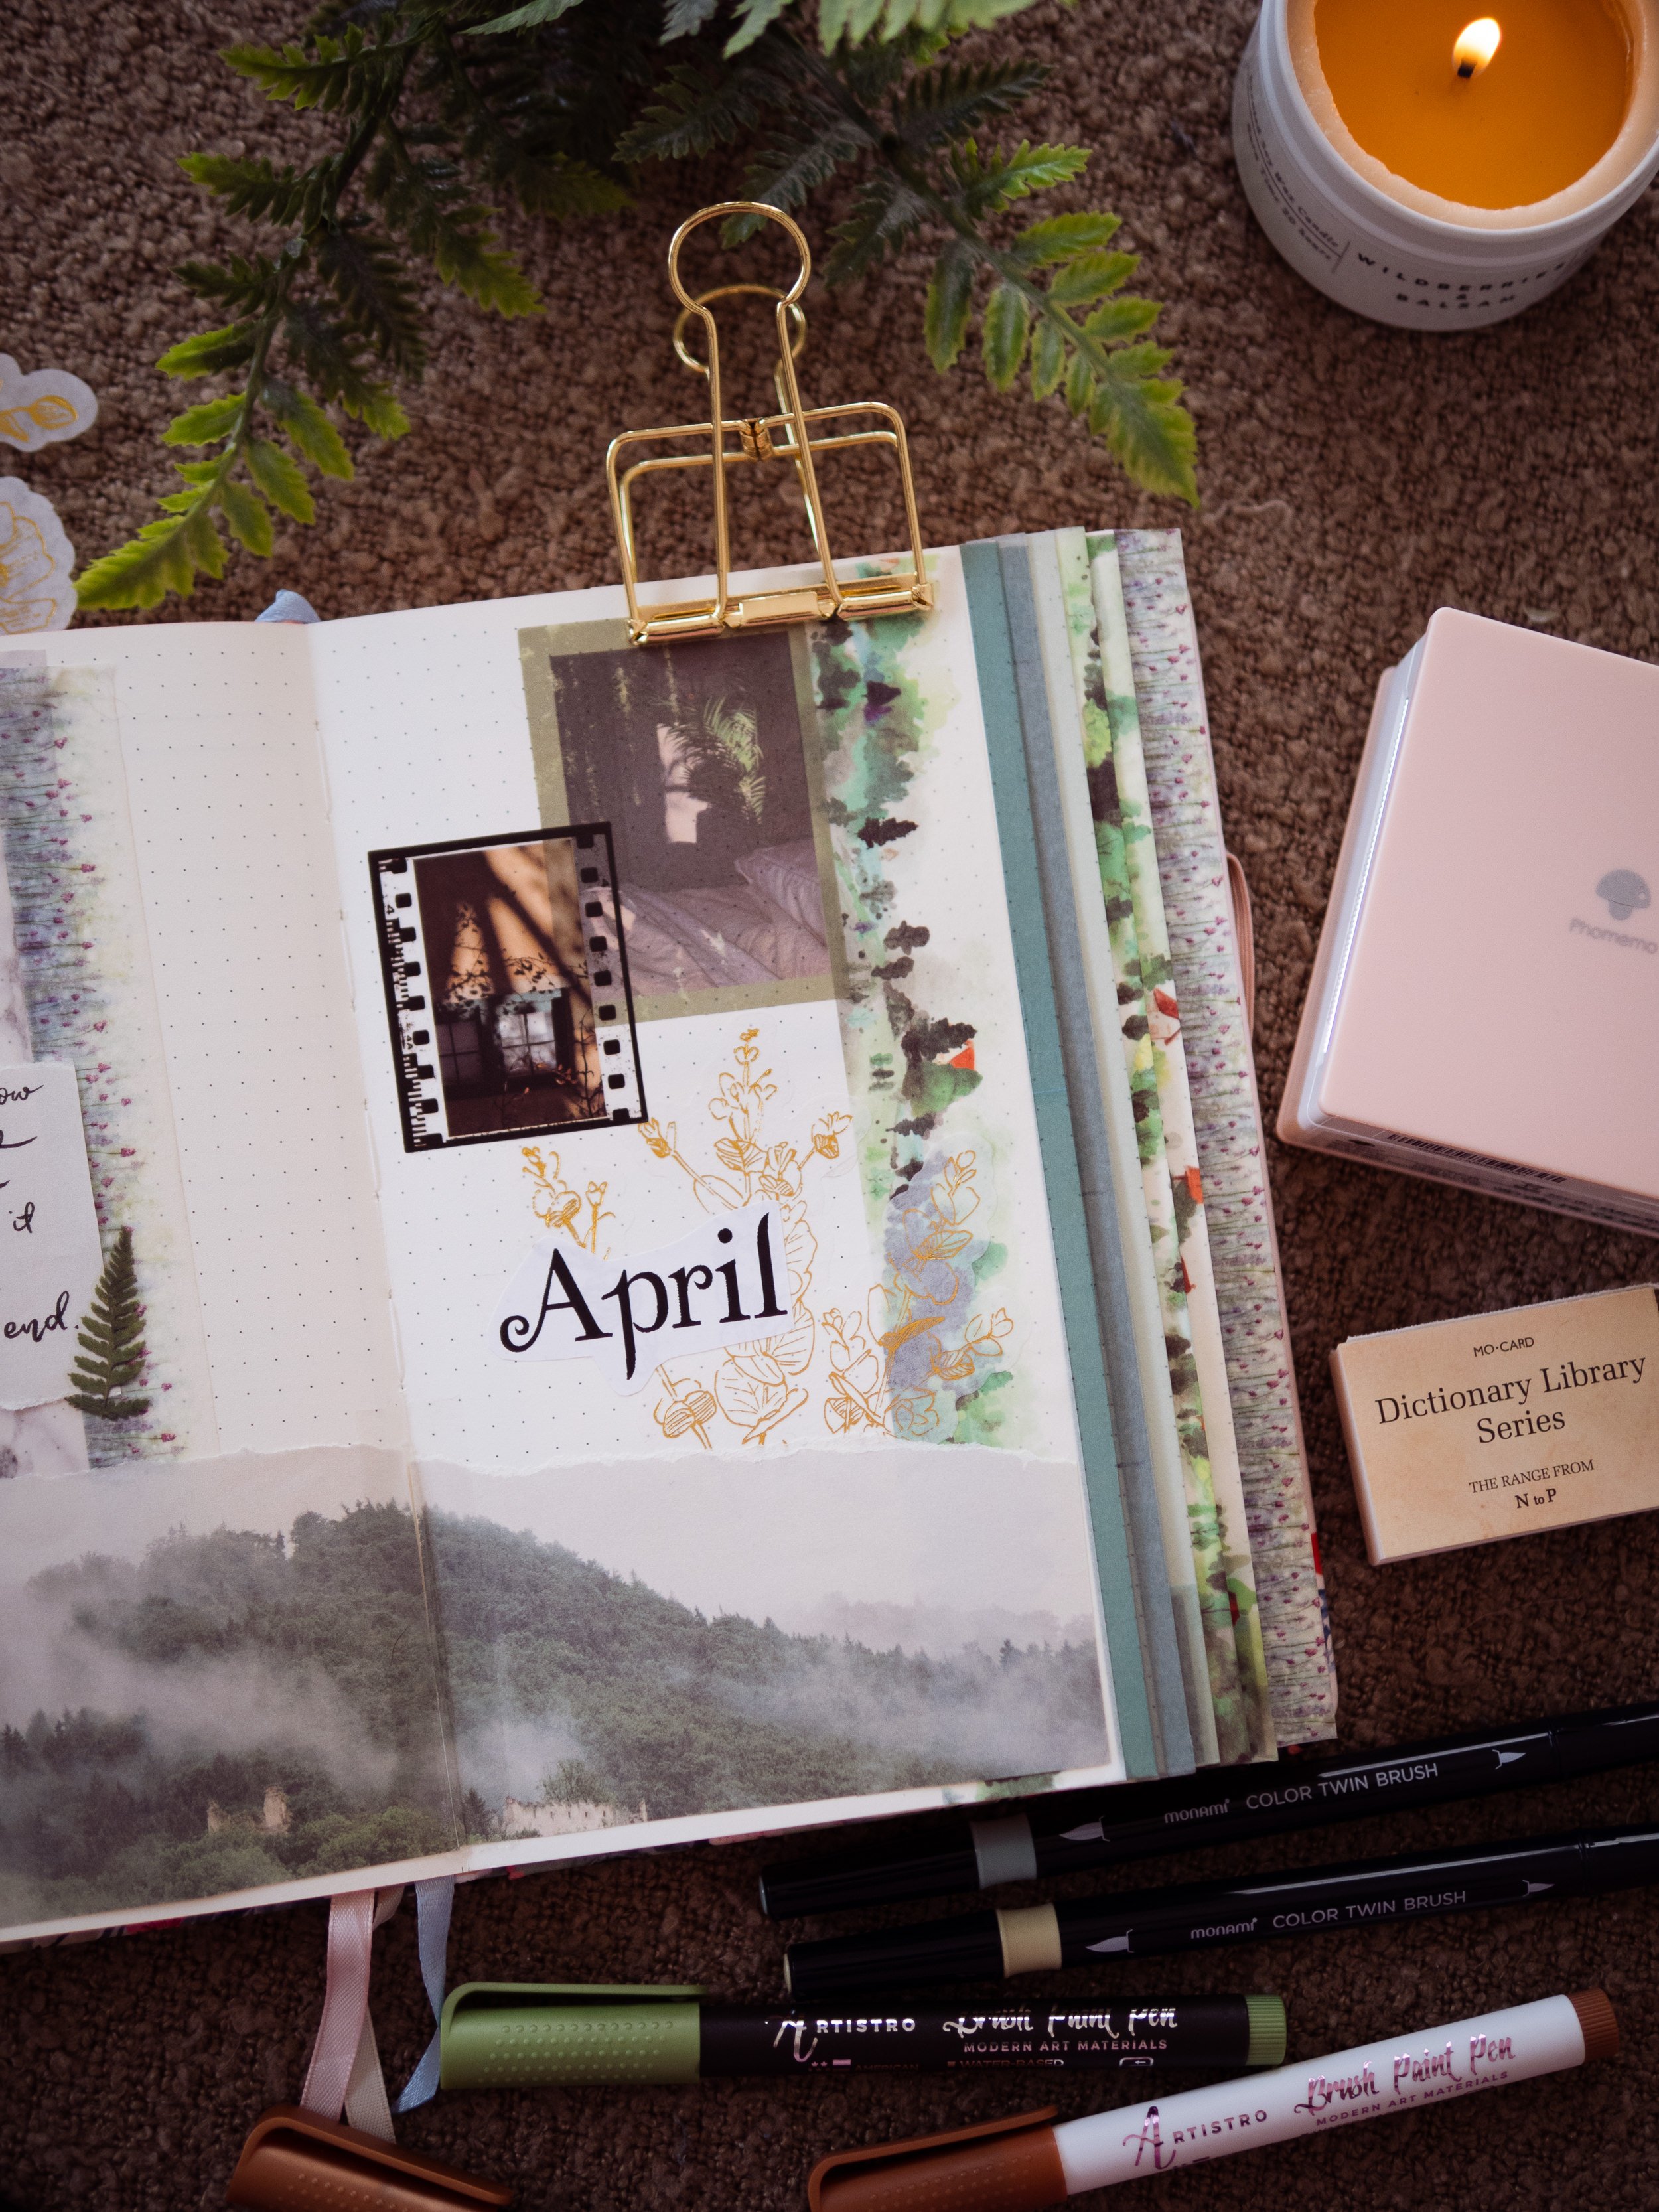
April 2022: A Twilight-Inspired Bullet Journal Theme
When Twilight mania hit, I was 21 years old, and while I never screamed at midnight screenings or wore a “Team Edward” shirt, I was well and truly a fangirl. I’ve revisited the books many times over the years, and have recently been following @Twilight_Talk on TikTok and listening to the first season of The Big Hit Show podcast. Those things helped, but they weren’t what ultimately inspired this bullet journal layout.
My city was recently hit with a “rain bomb”. Brisbane averages around 20 heavy rain days a year, and we don’t often have long stretches of steady rainfall, but the end of February and beginning of March saw some parts of my state get their entire usual annual rainfall in only a few days. The rain just. Didn’t. Stop.
It actually turned catastrophic - quite a bit of Australia’s east coast has flooded in the past two weeks - but in the days before disaster struck, the constant rain, the general dampness and the unusual darkness over what’s commonly known as the Sunshine State had me feeling a lot like Bella when she first moved to the Pacific Northwest in the beginning of the first book. “This is Forks weather!” I kept thinking. So naturally… I started rereading the books.
Disclosure: Some links in this blog post and its accompanying Youtube video are affiliate links. If you make a purchase through these links, I’ll make a small commission. Your price will not be affected at all - but your purchase will help to support me, my little blog and my Youtube channel, which is always greatly appreciated.
Instant Sticker Titles with Phomemo
The folks from Phomemo really helped make this setup come to life - they very kindly gifted me with their M02 mini thermal printer, and I knew immediately how I wanted to use it. I downloaded a Twilight font, typed out all my headings in a Photoshop image file and airdropped it to my iPad. I printed them with the mini printer onto their sticker paper and used them throughout the design. I didn’t want the layout to scream TWILIGHT STAN - I wanted it to be subtle enough that it could just seem a moody forest-inspired moment to anyone who didn’t get the references - and this was just the right amount of Official Fangirl to sprinkle on top.
If you’re keen on getting your hands on one of these adorable mini thermal printers from Phomemo, make sure to use my discount code ERINSMITH for 10% off!
The ultimate Twilight-appropriate journaling kit
Back in January I made a video and post chronicling my adventures in stationery shopping on Wish, and one of the first items that drew my eye was this scrapbook set. I chose the green colour scheme because it wasn’t a colour I had much of in my stash. It had printed papers of various sizes, three washi tapes, a range of stickers and some film strips, and at the time I thought “this could be a cute cottage core theme.”
It wasn’t until I was organising my stickers in late February, my head still half-deep in the first book and several days into the heavy rain that I noticed the resemblance. The ferns, the tree-covered hills, the misty sky… this was a very Twilight-geared stationery pack. Once I had it in my head, I couldn’t get it out.
What I learned about waterfall tabs
I’ve been seeing waterfall tabs around lately and I wanted to give it a go - so my first two pages are a quote page and a skinnier-than-usual cover page, which flow into each other thanks to the panoramic hillside paper along the bottom. I wanted to keep things a little less busy and overwhelming than on my March cover page! The sticker in the top left of the quote page just looked so much like the meadow in the books that I couldn’t help myself.
I learned a lot setting this up! To make waterfall tabs, you need to cut off the edge of your pages, so the rearmost page is the regular width, and each page before that is incrementally shorter. Then you line the edges of those pages with washi tape. I used my first weekly spread as my last page, then cut off one more column of dots on each page as I worked my way back to the cover page.
I recommend planning your layout in pencil first with that missing paper in mind - there’s nothing worse than cutting off a functional part of your previous page!
Calendar page, gratitude log, goals & currently
The next two pages are simpler and very functional. It’s my calendar on the left, where I’ll add important events and dates to remember. The right page is for a gratitude log, goals section and “currently” area. I’ll add a few words of gratefulness for each day, set some goals for the month, and note down anything I’m into throughout April - from movies and TV shows to music, podcasts, books, and anything else.
I’ve used my new Monami brush pens for the first time here - I picked these up in my Stationery Pal haul recently and the two greens were perfect for this theme! They’re very different to the rest of the pens I own - the brush tips are SO soft and flexible, they remind me of proper Japanese calligraphy brushes. I almost feel like the ink behaves like alcohol-based markers, the way it goes on very wet and blends on the page, but they are definitely water-based; I didn’t have any issues with bleeding the way an alcohol marker would.
Habit tracker and mood tracker spread
This often ends up one of my favourite pages! While the habit tracker is fairly self-explanatory, the mood tracker this month will be a bit different. I’ll be using my Artistro paint pens to make more of the pine trees that currently grace the calendar page, so by the end of the month I’ll have a forest along the bottom of the spread. The colour of each tree will signify my mood for each day. At the moment the trees are just lines - follow along on my Instagram if you’d like to see them come to life!
I’ve used one of my favourite tricks for the headers on this page - stacking stickers to make a little feature for the text to blend into.
Content calendar spread
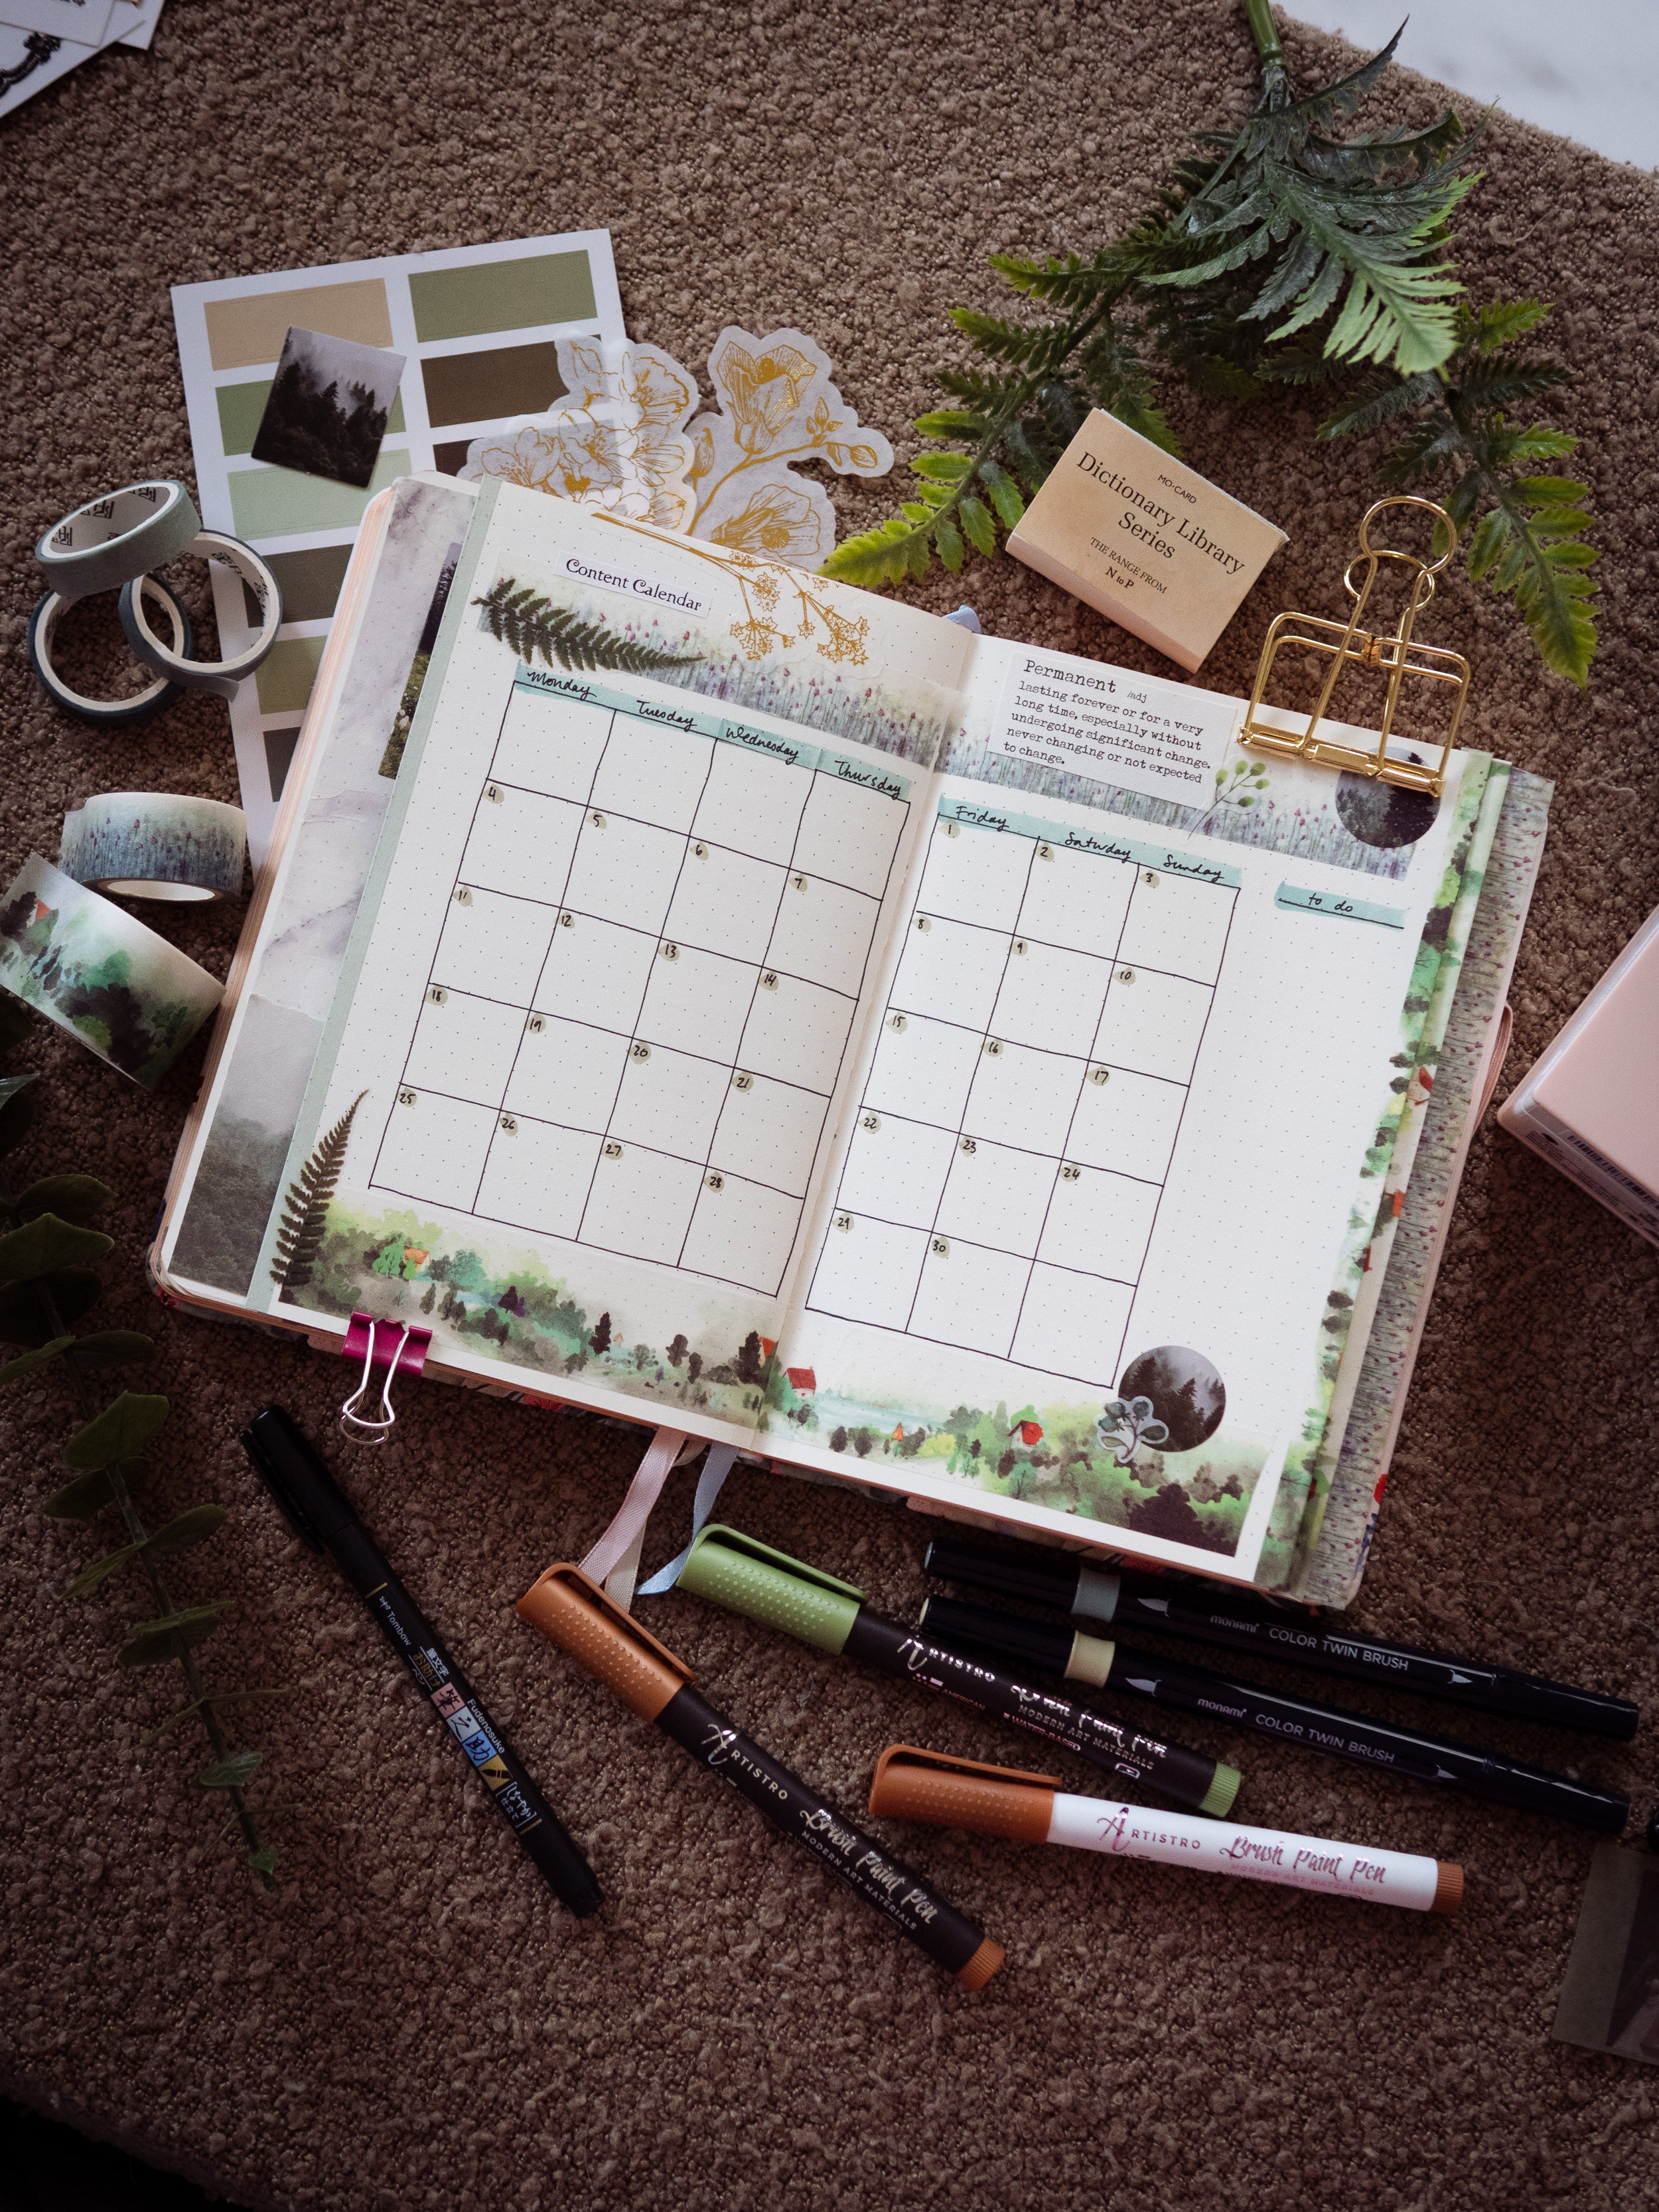
As someone who schedules all her social media content across three business, the content calendar has become an essential spread for me the past few months.
This time it was a tricky one to decorate. I knew I needed big boxes in the calendar so I could fit plenty of data in there, but it didn’t leave much room for stickers, so I’ve relied heavily on my washi tapes here. I’ve also introduced the first of my dictionary definitions - this is my first time ever using them in a set up! “Permanent” seemed appropriate - it’s a pretty good description of the vampire characters in the books.
Spending tracker, phone & sleep tracker pages
Ordinarily these come a little earlier in my page order, but they’re appearing later this time because I needed a bit more page real estate to make these grids work than the earlier, half-cut-off pages would allow.
On the left is my spending tracker - two tables exactly the same, for recording the amount and category of everything I purchase over the course of the month.
On the right is my phone and sleep tracker. I don’t keep this information for any kind of future purpose - it’s about seeing the trends as they happen so I can make changes for the better. My phone usage has reduced hugely since I started tracking it! My sleeping habits are trickier to fix, but when I start to notice my bedtime growing later and later, I can start making other changes to help me get it back to a reasonable hour.
Weekly Spread
I was having such a good time setting up this theme that I knew I’d want to have a LOT of space for decoration on my weekly! I wanted the useful parts of the pages to be somewhat symmetrical, so on the left page I’ve left spaces for events and on the right page I’ve got three columns for tasks.
I’ve used the dictionary definitions again, and again have tried to choose the most appropriate words I could find in my set. I also want to make special mention of the cactus sticker near the top right of the right page - a nod to Bella’s cactus at the start of the first movie and the fan creativity it has inspired!
Everything I used to make this layout (starred items are affiliate links)
Phomemo M02 Mini Thermal Printer ☆ (use code ERINSMITH for 10% off!)
The Washi Tape Shop Moonbeam Journal ☆
Green scrapbooking stationery set from Wish (style 3) - paper, stickers & 3 solid colour washi tapes
The two patterned washi tapes were hand-me-downs and sadly I don’t know where they were originally purchased
The wide marble washi tape on the cover page is from Daiso - I wish I could link to it!
Sharpie pen ☆
Craft knife ☆
Cutting mat ☆
Glue tape ☆ (use code ERIN for 12% off!)
Tombow Fudenosuke soft tip brush pen ☆ (use code ERIN for 12% off!)
Artistro brush tip paint pens set ☆ (use code ERIN for 10% off!)
Monami pastel dual brush pens set ☆ (use code ERIN for 12% off!)
Watercolour plants washi stickers from Notebook Therapy
Fern stickers from Paper Kooka
Gold botanical stickers from Wish (style 11)
Filmstrip stickers from Shein
Washi tape stamps from Shein
Dictionary pad is sadly no longer available from Shein but you can get them on oBujo: alternate link here
Large gold binder clip ☆ (use code ERIN for 12% off!)


