
February Bujo 2022: Year of the Tiger Lunar New Year Bullet Journal
Happy year of the tiger! I’m counting the beginning of Lunar New Year as my official start to the year, rather than January 1st - my year got off to a rocky start so I’m happy to take a do-over!
If you’re here to find links to my journaling supplies, you’ll find them at the end of this post.
Why the Tiger?
My partner’s family heritage is Chinese, so celebrating Lunar New Year is part of our annual traditions. He is a tiger in the Chinese zodiac, and as an avid cat-person I thought this was a great opportunity to celebrate him, Lunar New Year and kitties all in one go - right here in my bullet journal!
The element for 2022 is water, so I wanted to incorporate that too - I’ve left my comfort zone behind and jumped in with watercolour for the first time in a few years. I chose yellow as I saw it listed as a lucky colour for my zodiac sign in 2022 - I’m a rabbit! I don’t usually use a lot of yellow, so I thought it might be a nice change of pace, and I wanted it to be loose and imperfect, especially on the cover page. I’ve also used some black botanical stickers I got from Wish as an extra accent.
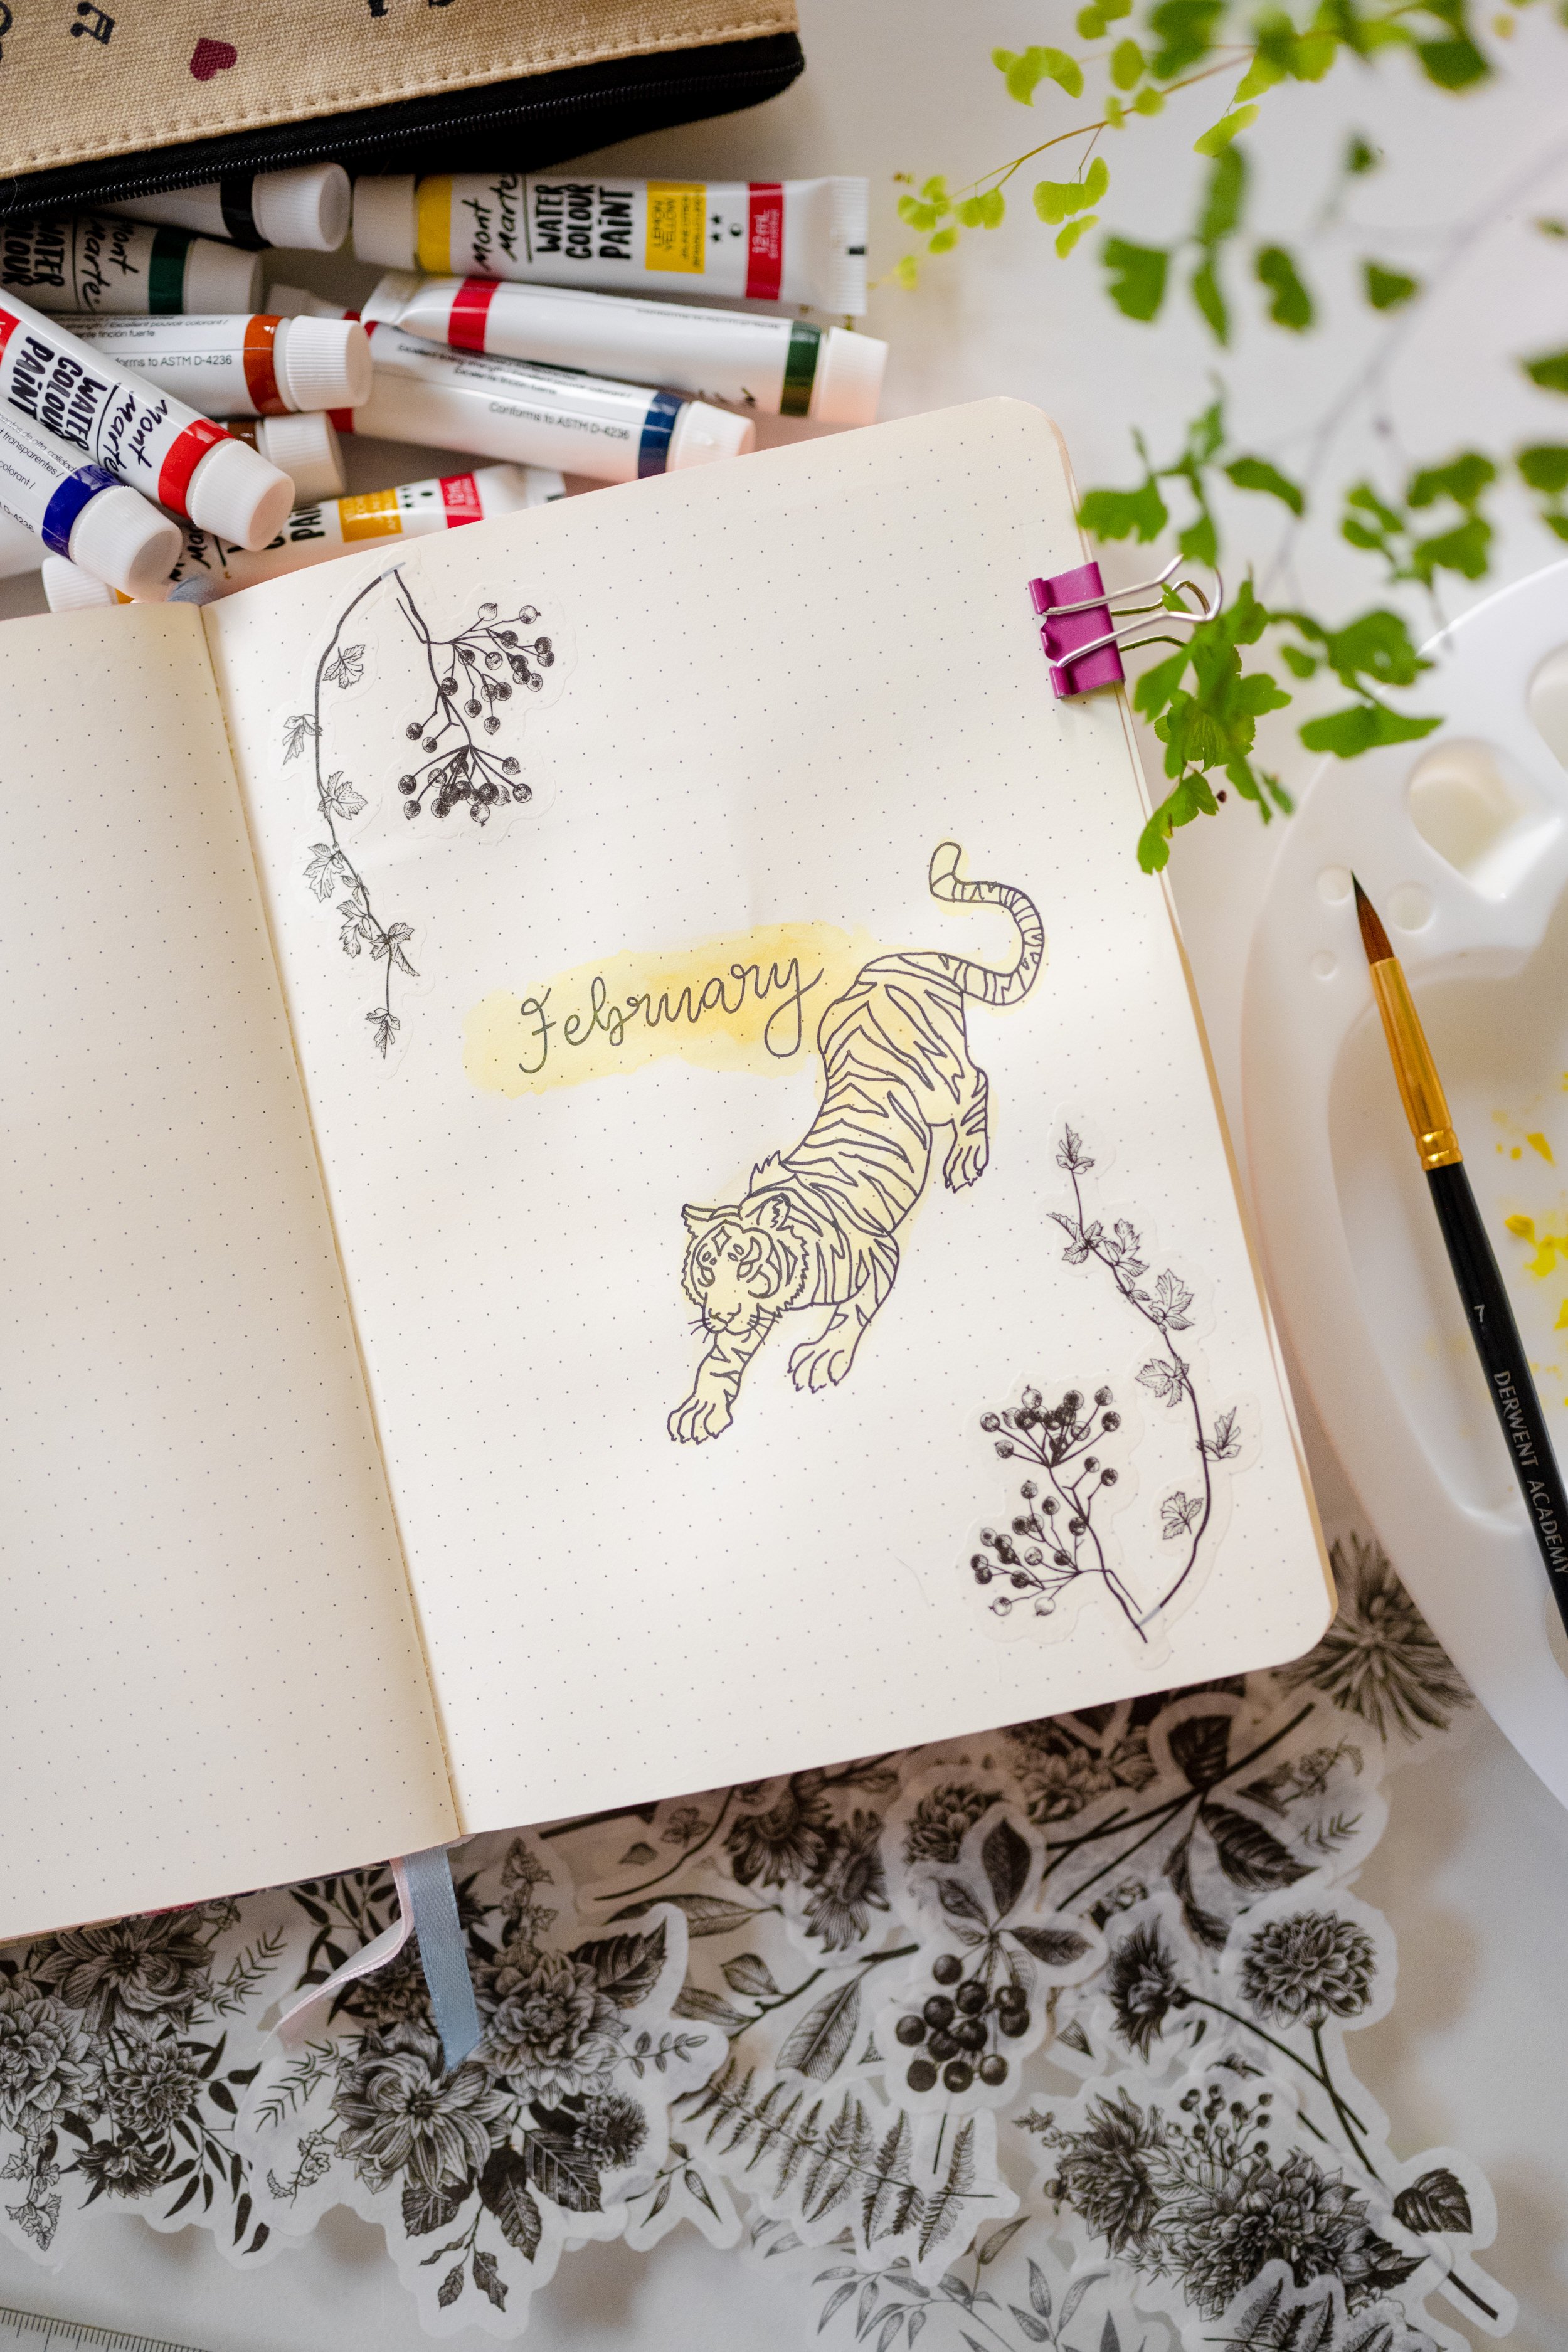
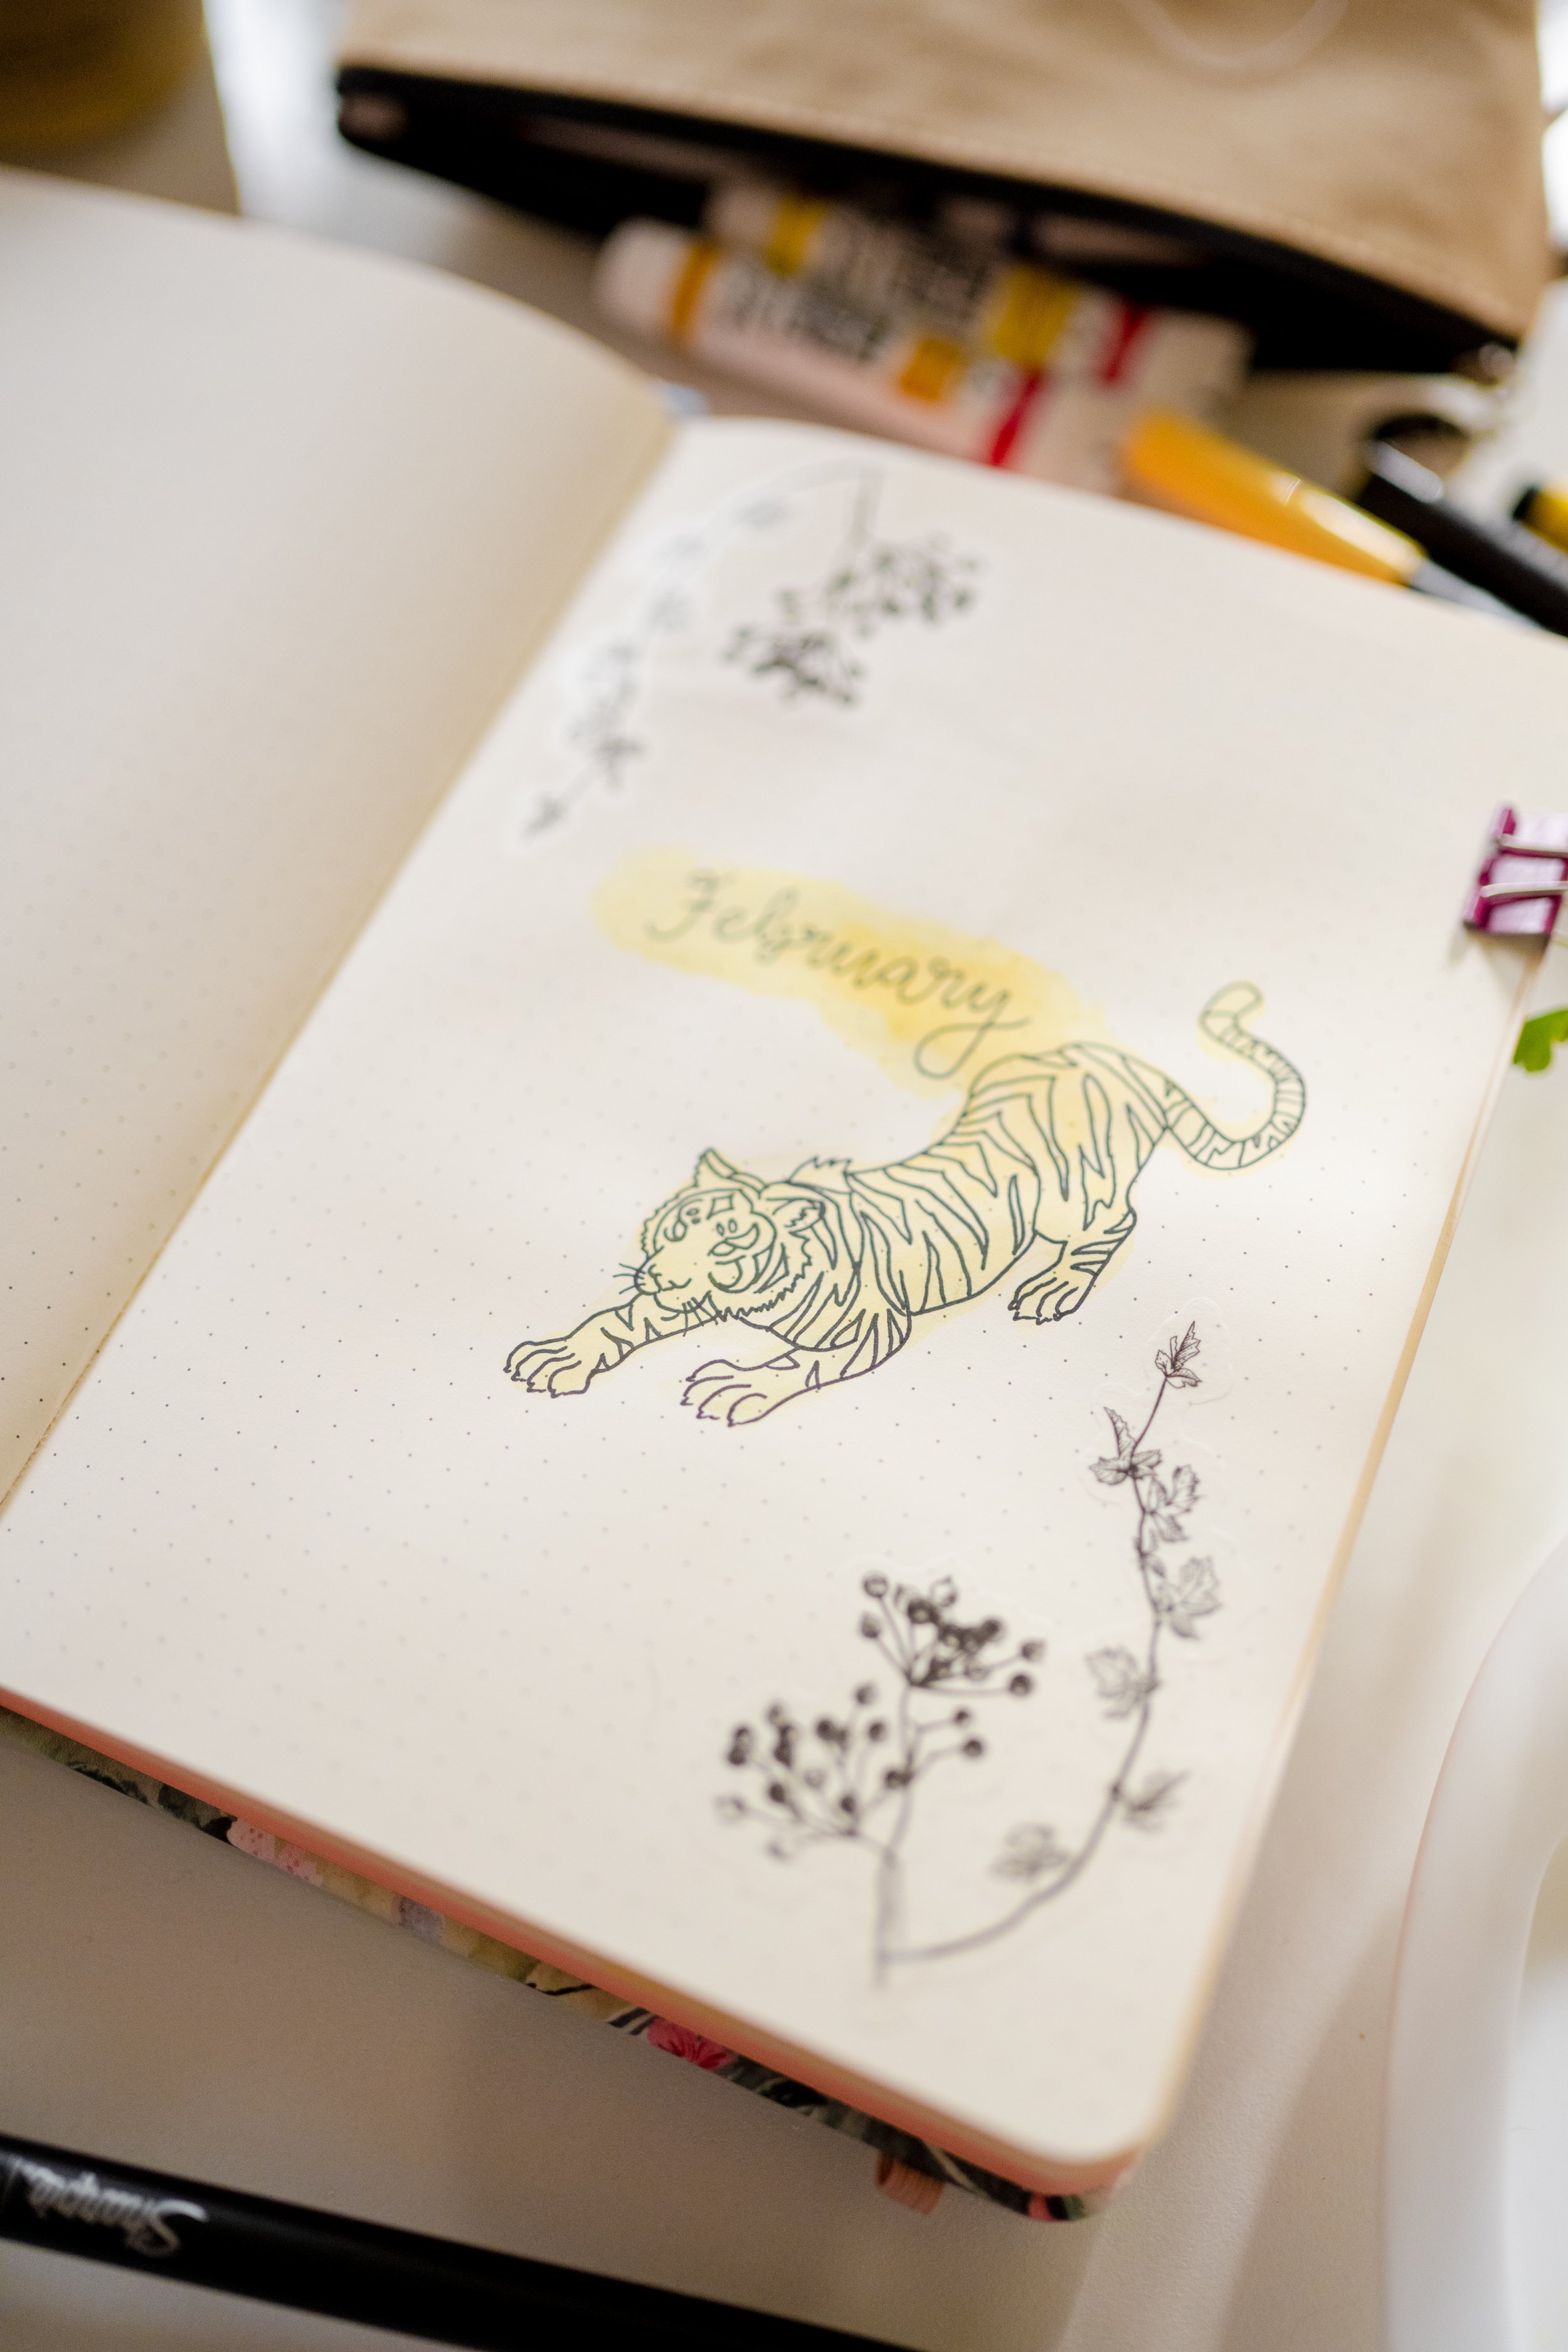
As much as I know my way around a simplified flower doodle… drawing a whole tiger is a bit beyond me! So I turned to Canva (I have a Pro subscription, it’s phenomenal) and searched their assets until I came across this lovely line-art tiger illustration. Unfortunately Canva doesn’t give much info with regards to the original artist, but I think it’s so lovely!
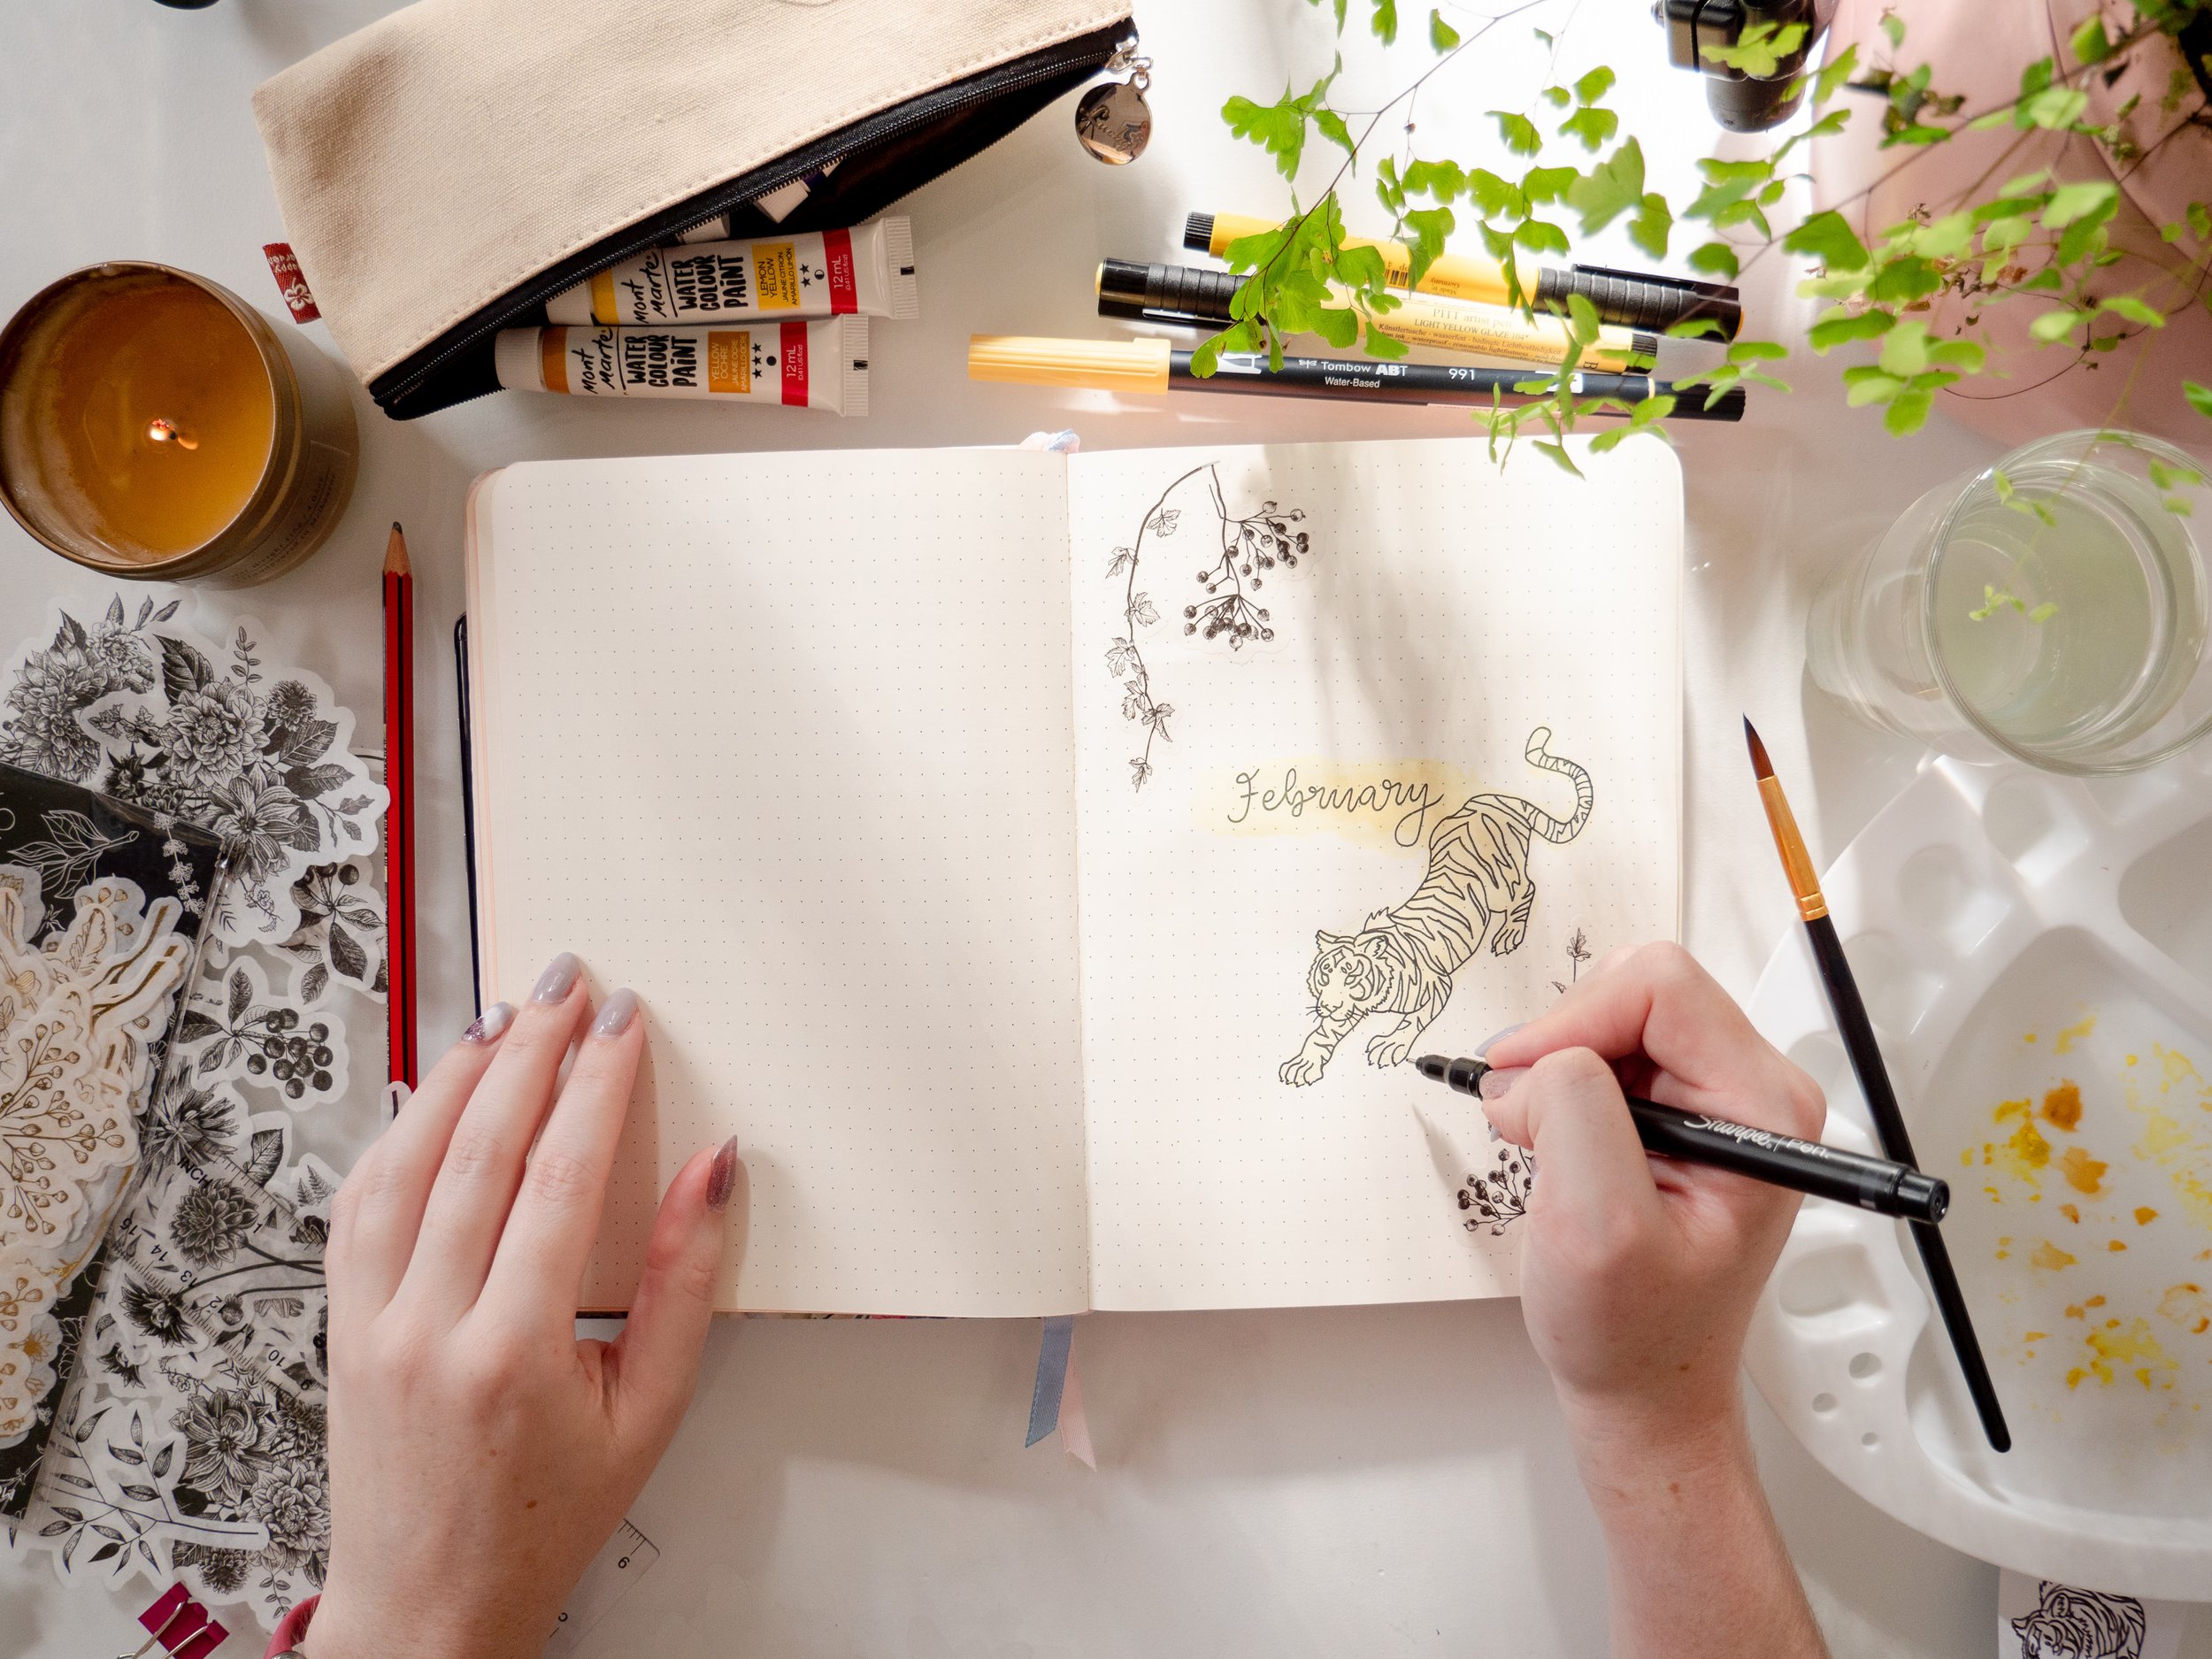
How I did the tiger (no, I didn’t draw it)
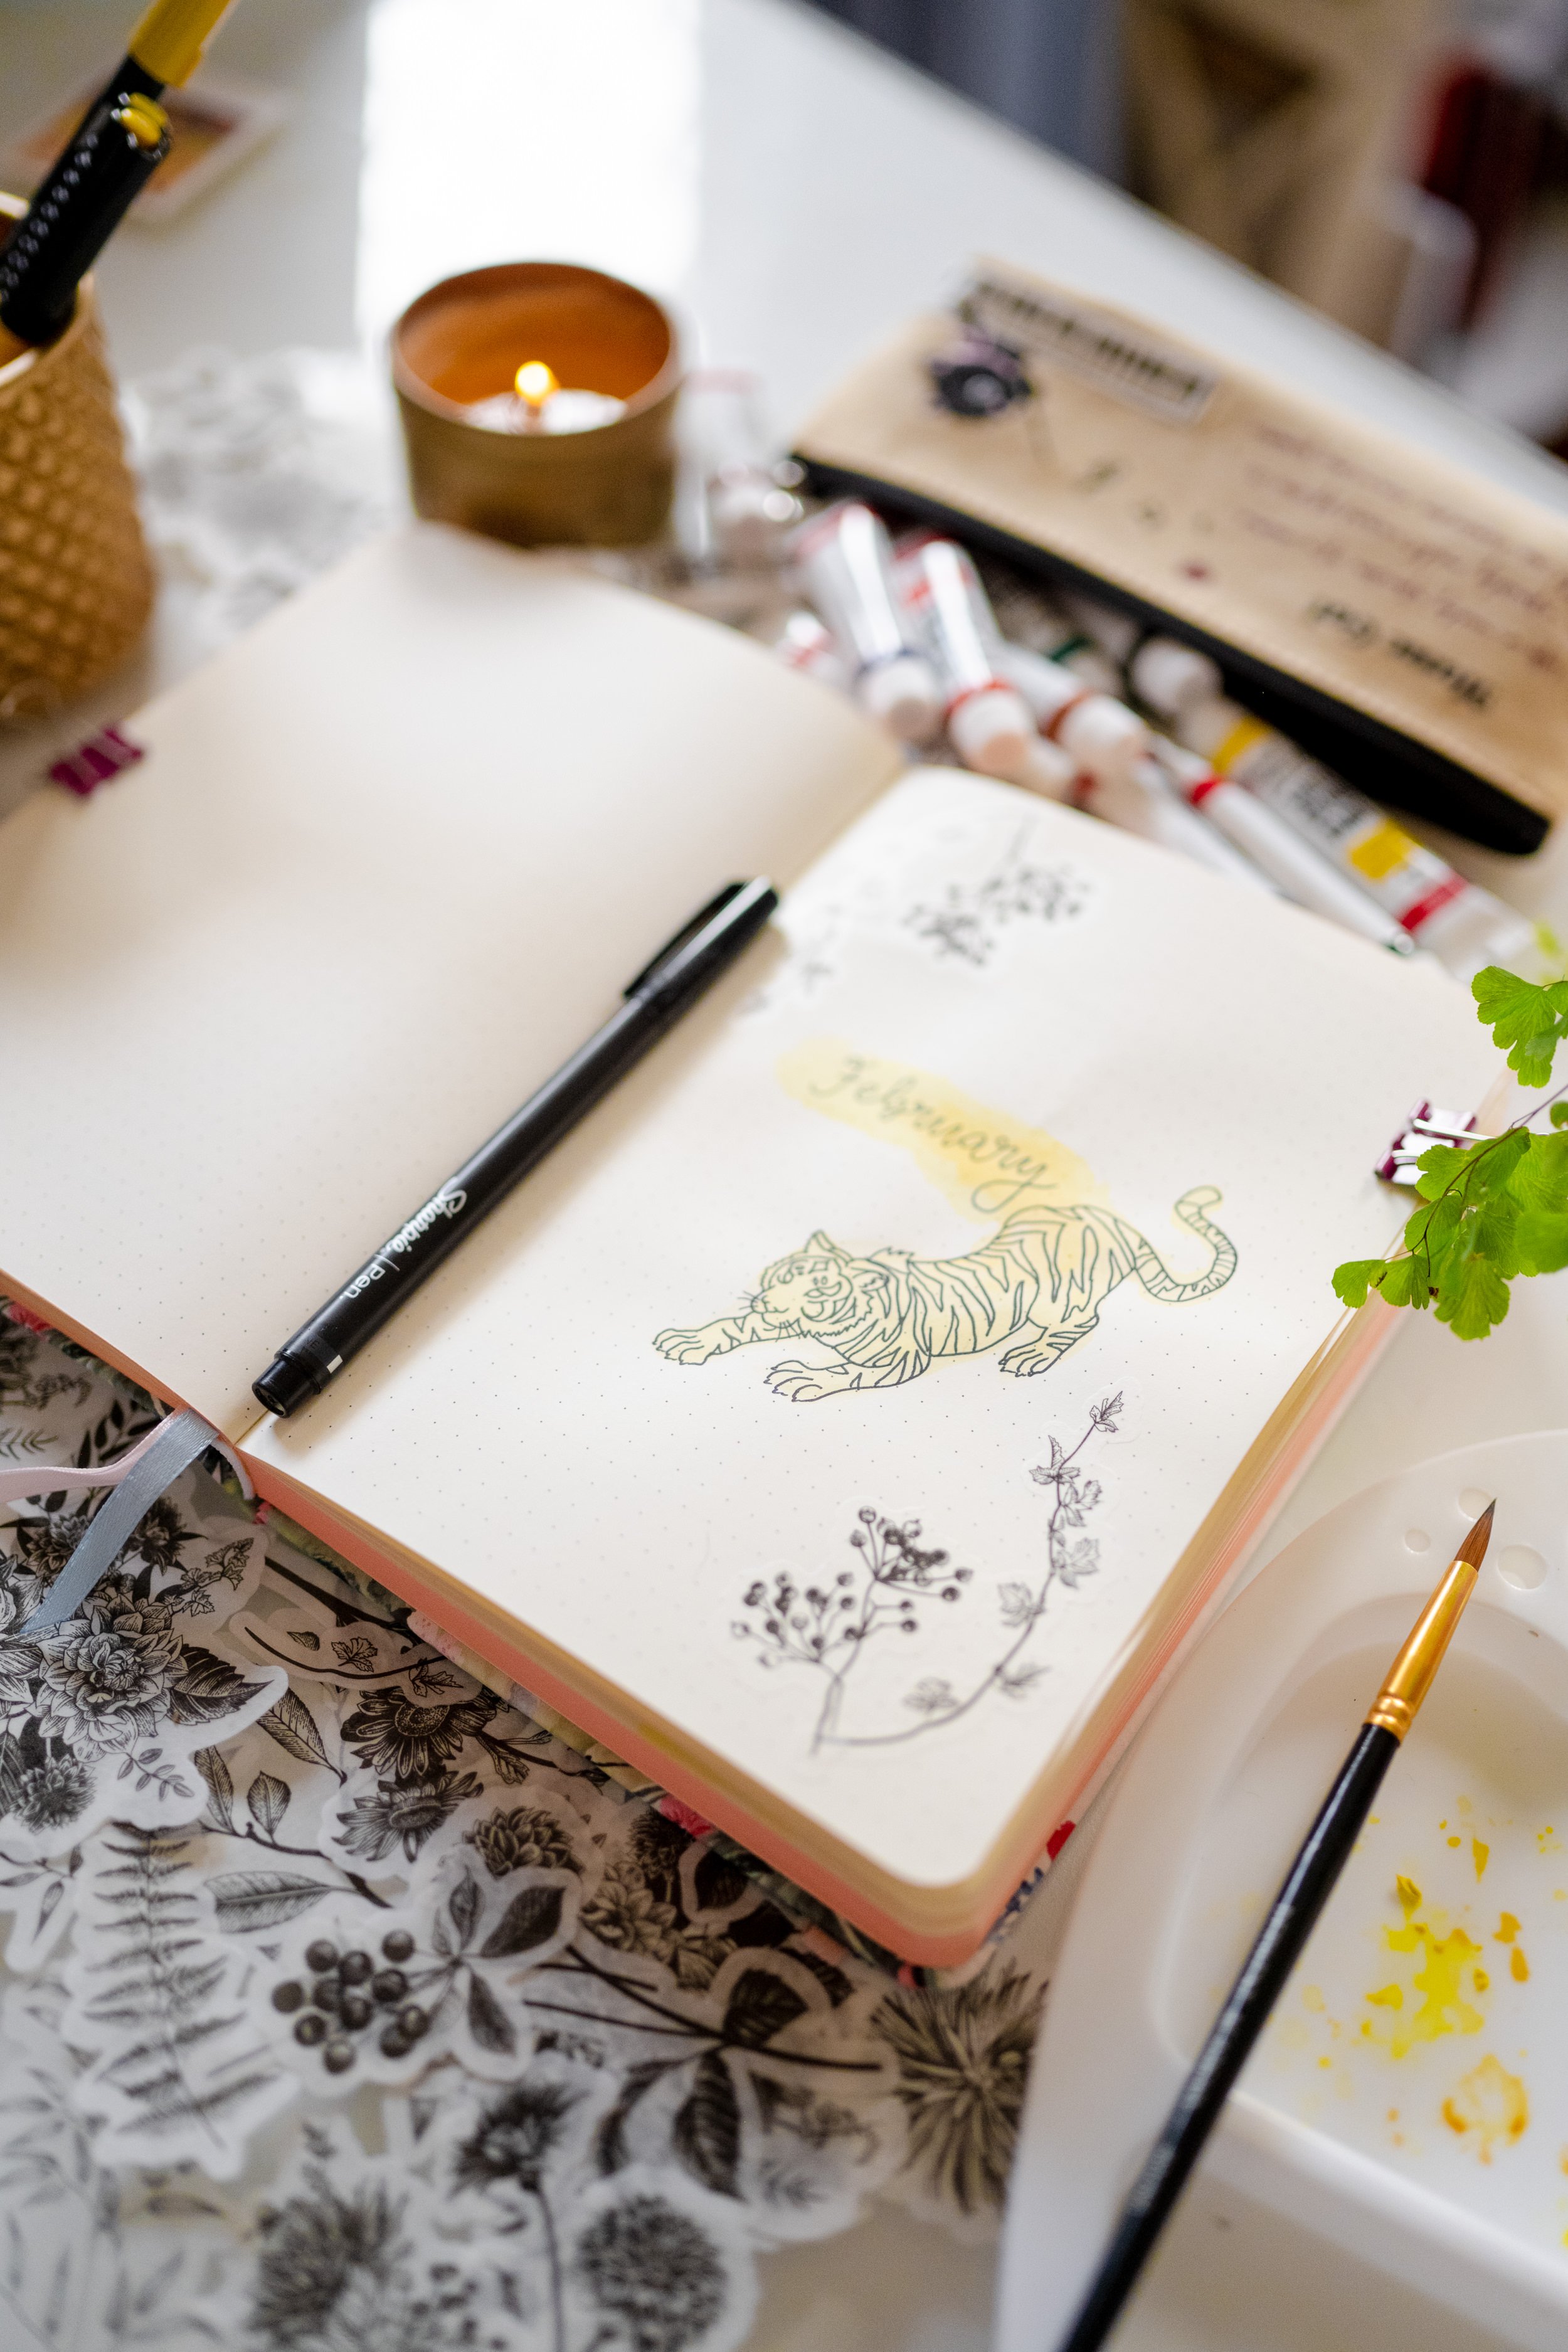
In order to get the tiger into my notebook, I printed it, cut off the excess paper, then coloured the back of the paper with pencil, ensuring the pencil covered the back of the whole illustration. Then I Washi-taped it to the page in position, and drew over each of the lines with a ballpoint pen to transfer the pencil onto my bujo page. I removed the tape and the cut-out tiger, and then went over those pencil lines directly on my journal page with my fineliner. This is one of my favourite bujo hacks to get something lovely directly on the pages of your journal without needing any artistic skill!
If my explanation makes no sense, you can see it in action in my Plan With Me video above.
Calendar Spread
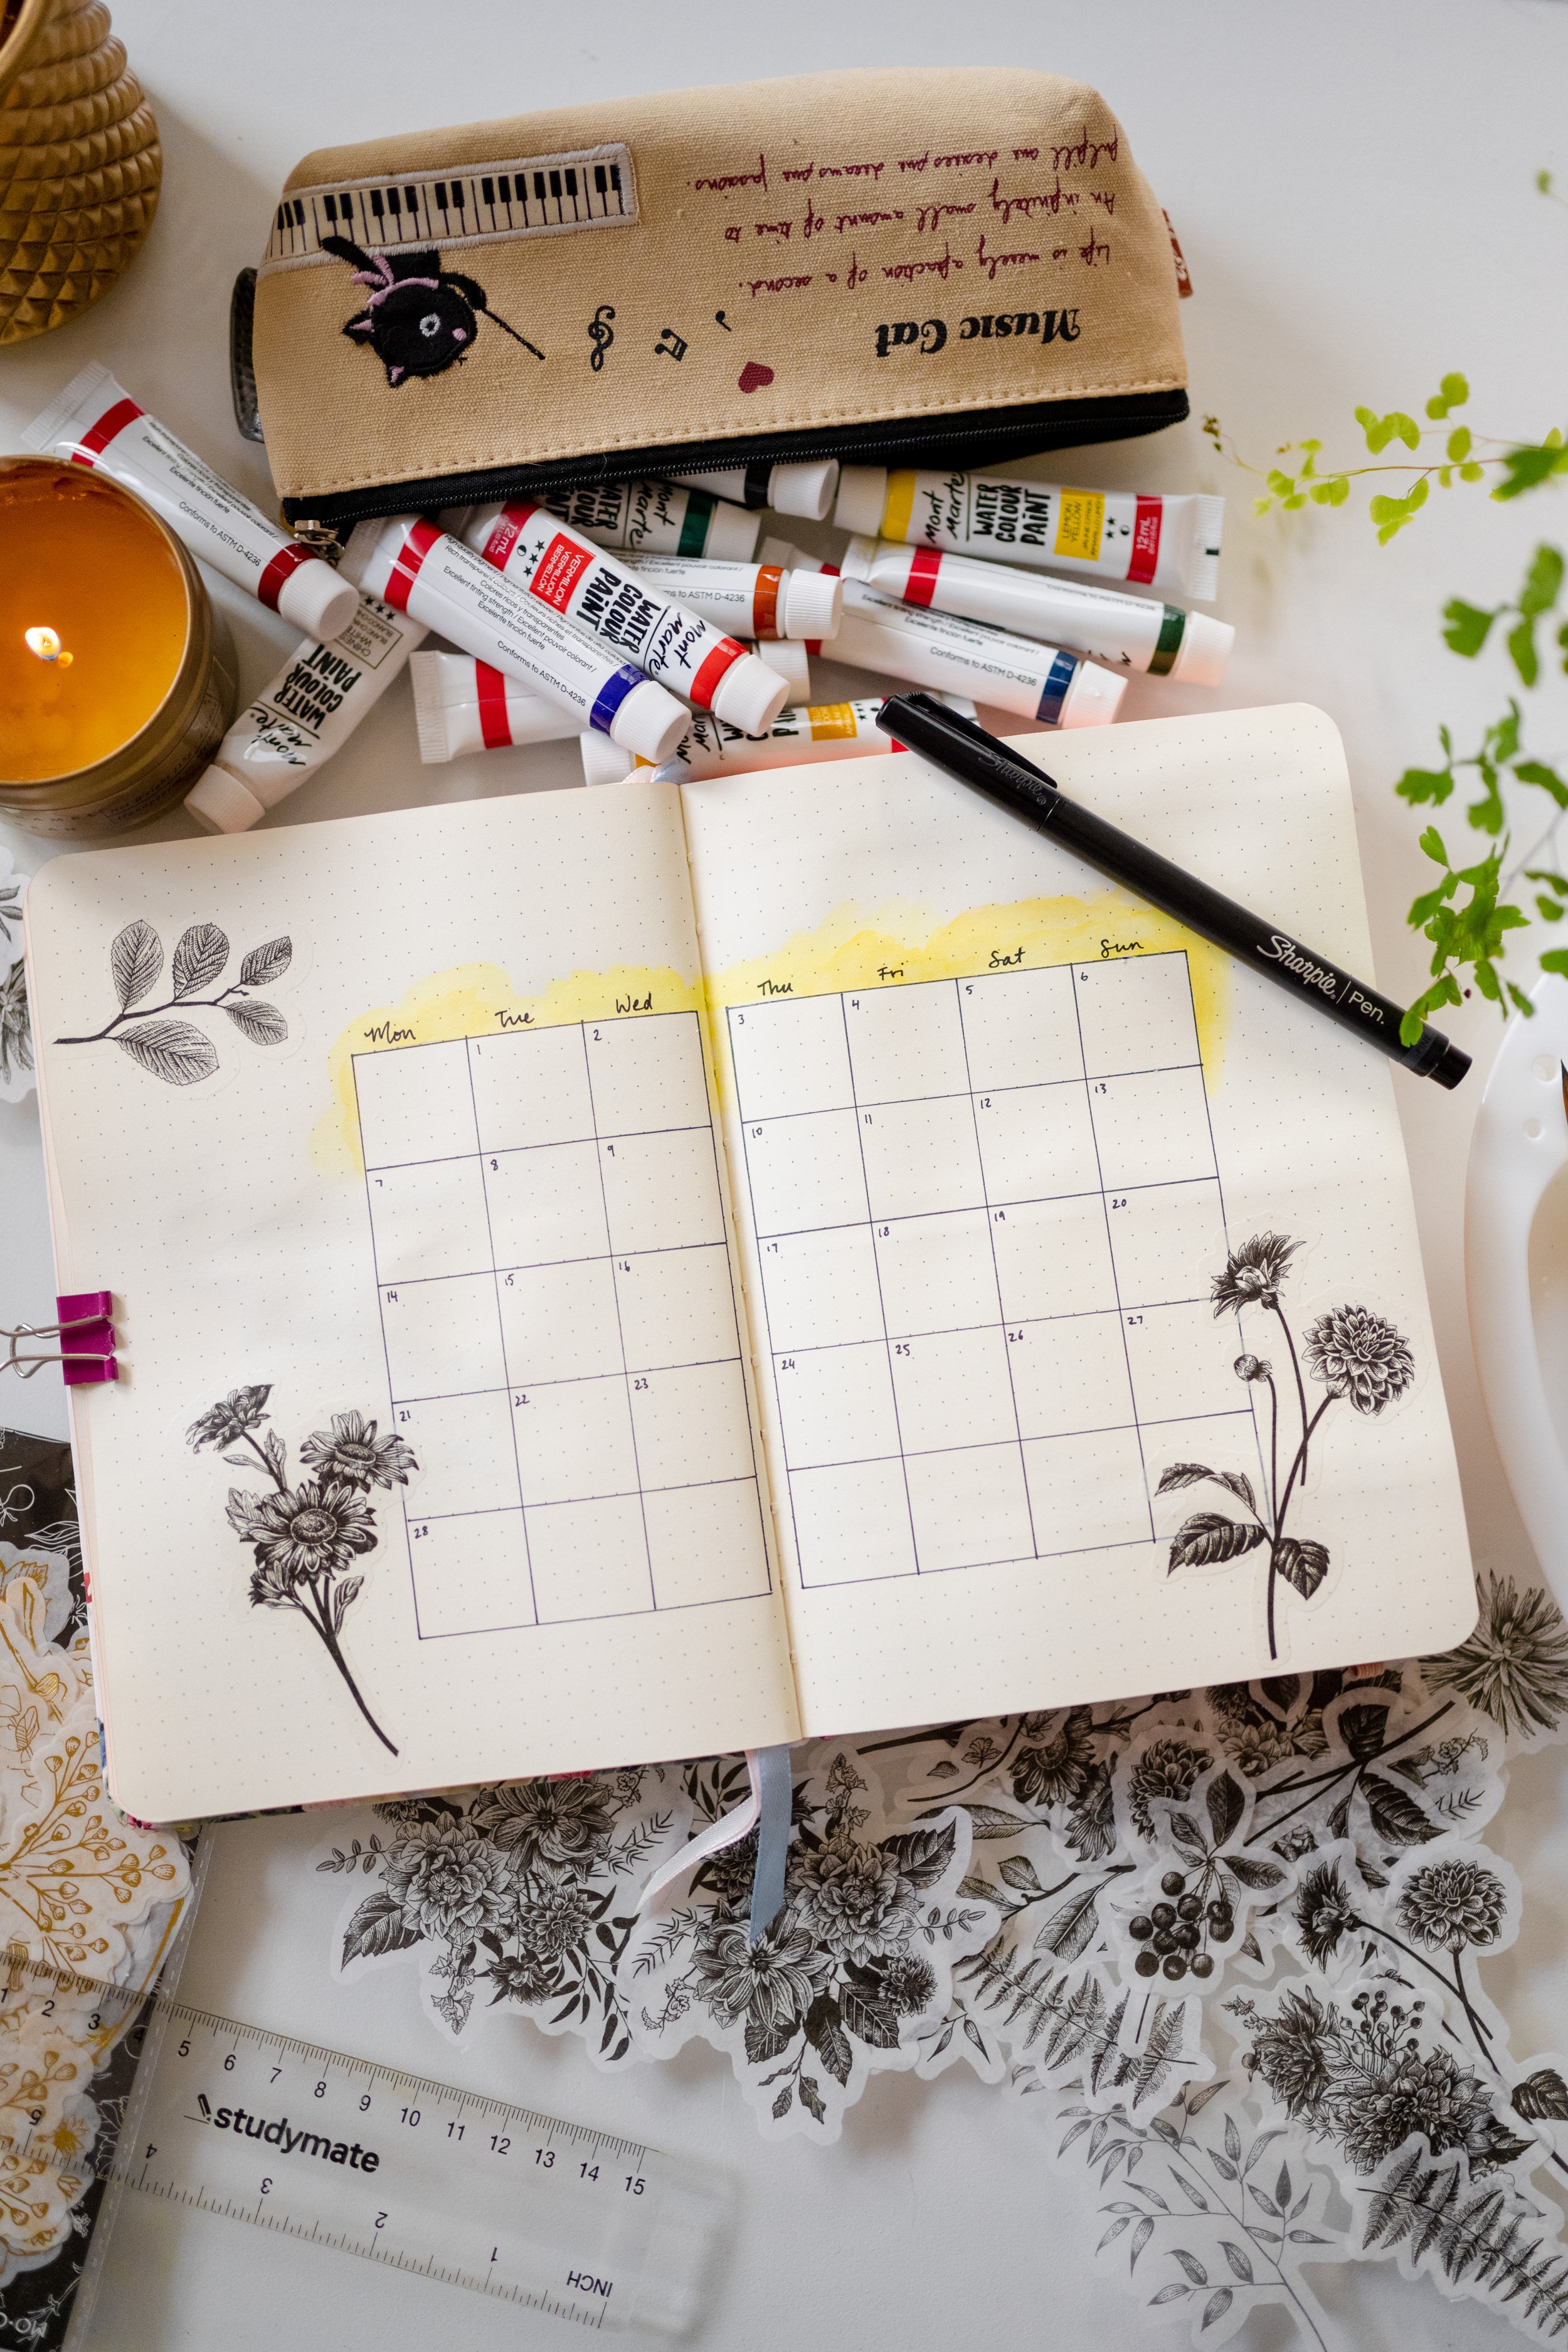
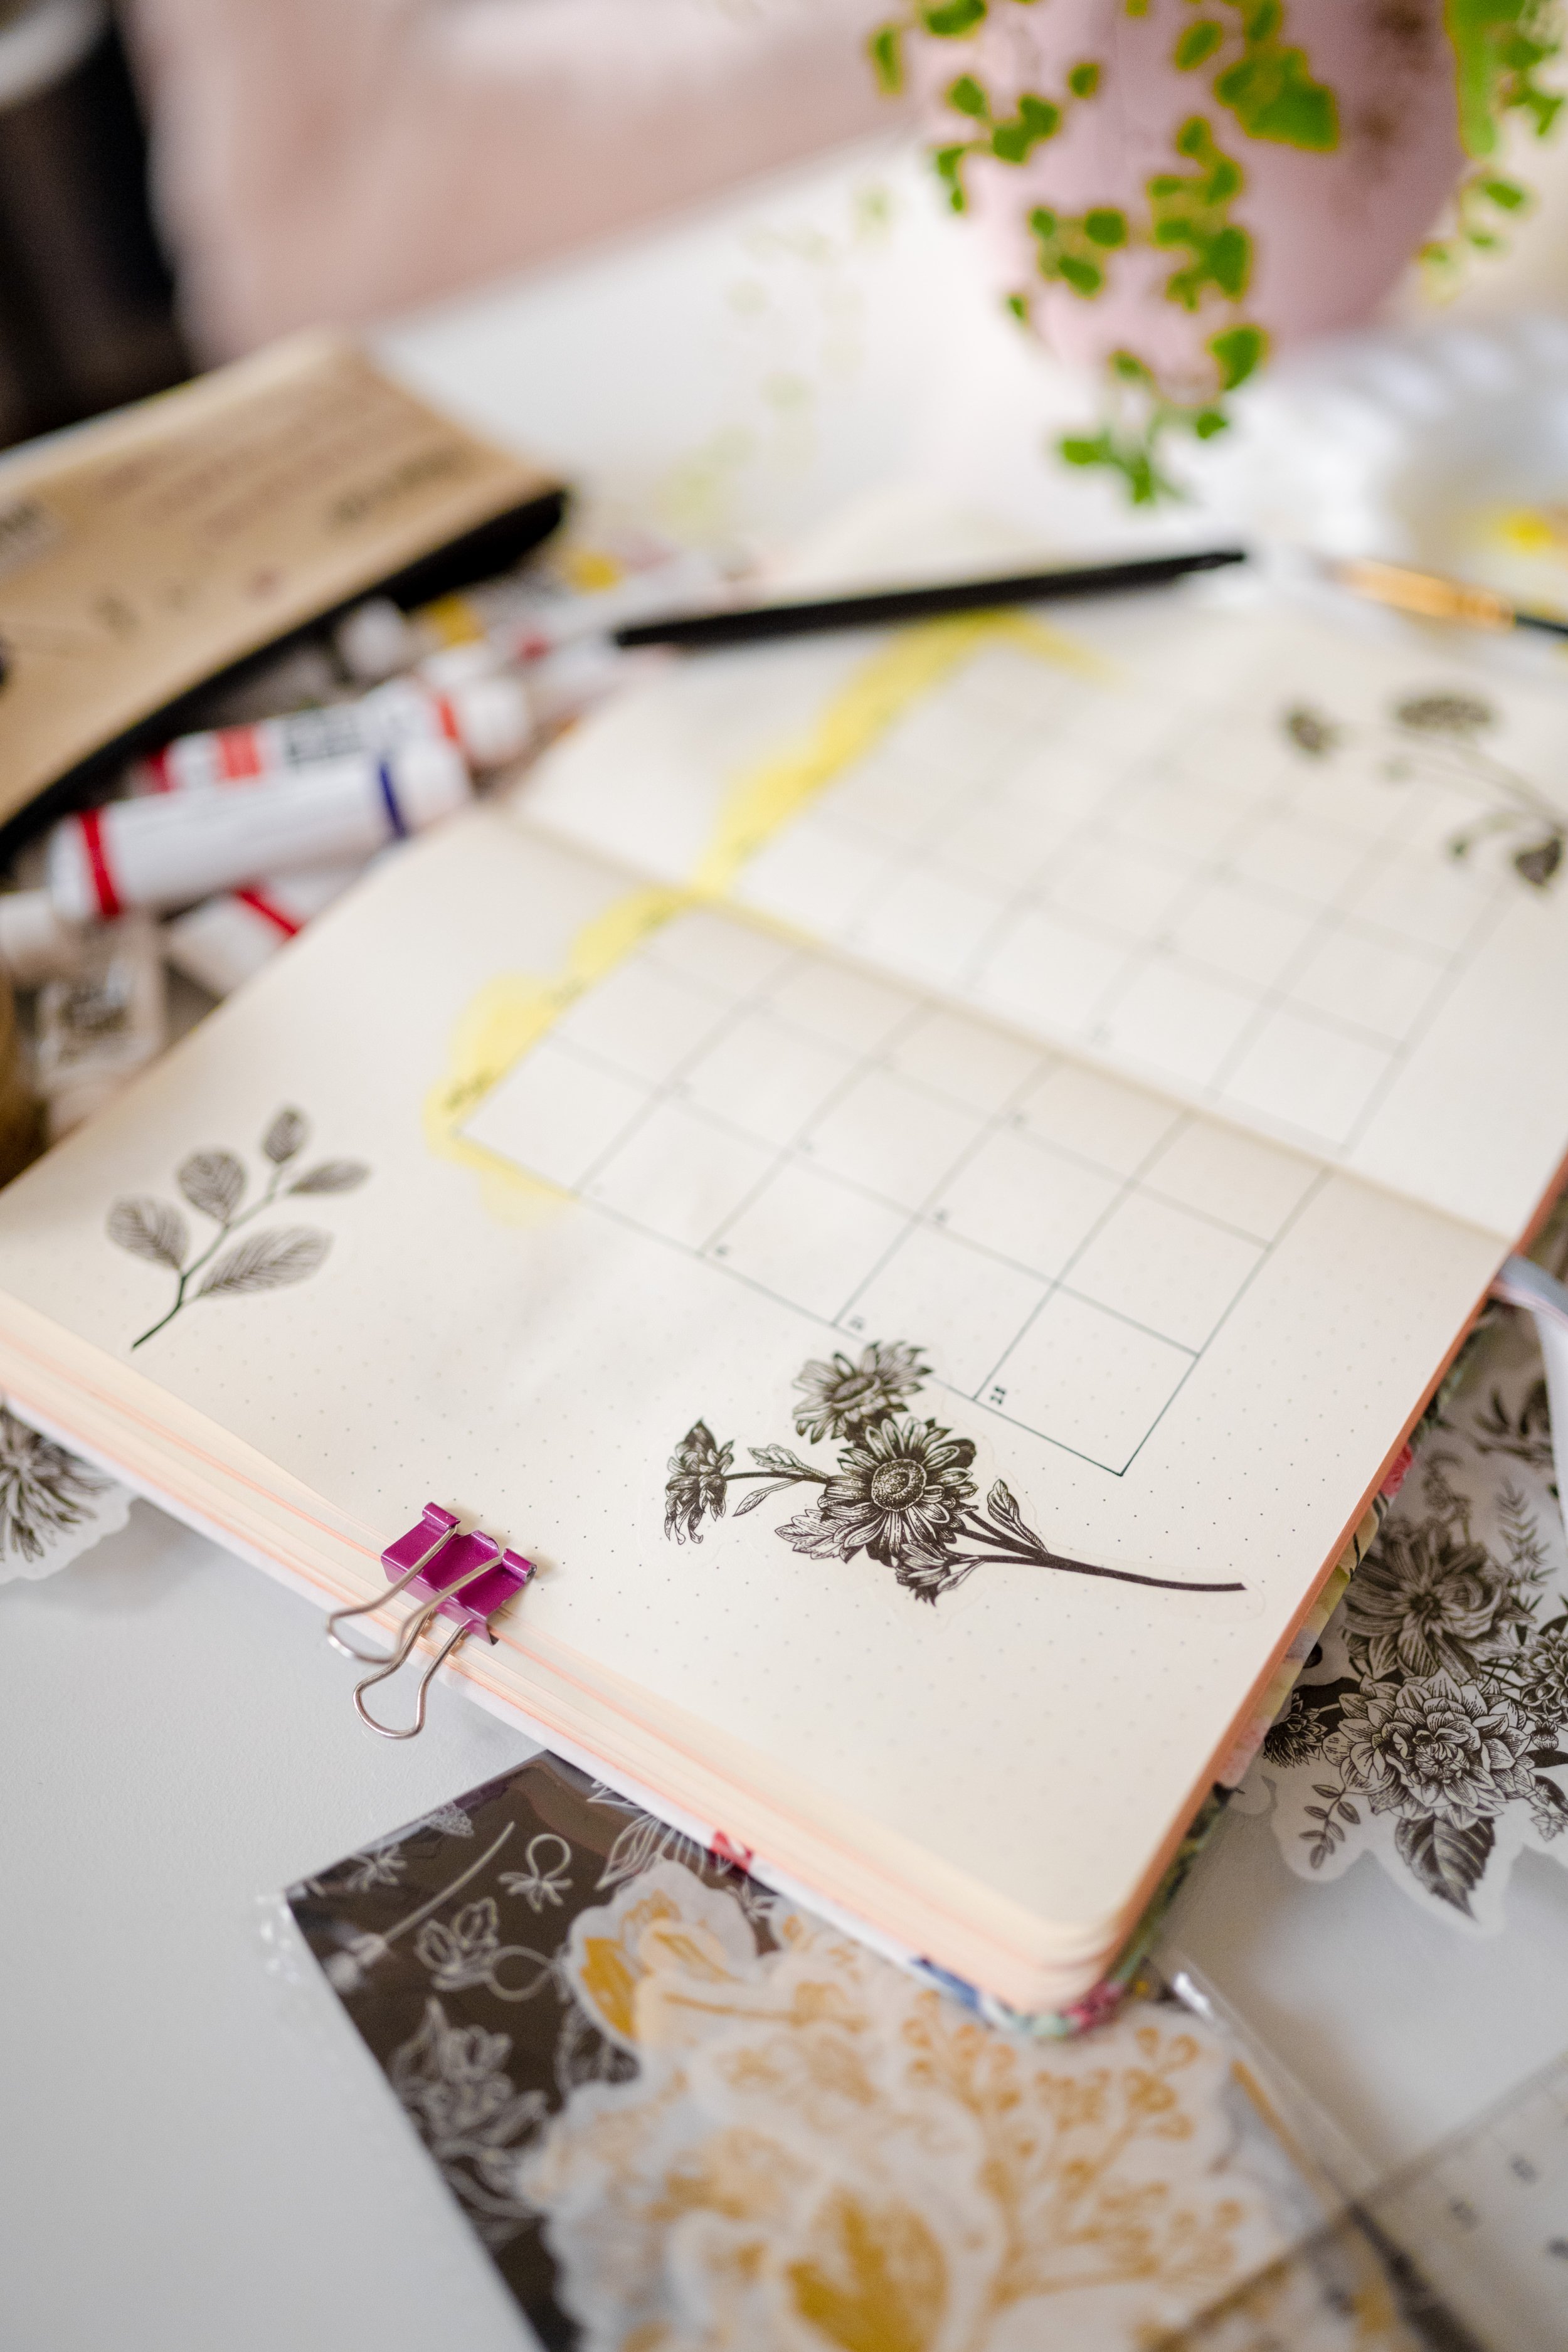

I adore my cover page tiger, but he was way too time consuming to bring him into the following pages. Instead, I’ve stuck to a very minimal design using just my Wish stickers and watercolour. Throughout this layout I did a lot of masking off the edges of my practical elements, like the calendar, so I could have a sharp, clean line on the edge of my watercolour sections.
Gratitude, Goals, Currently Page; Phone & Sleep Tracker Page


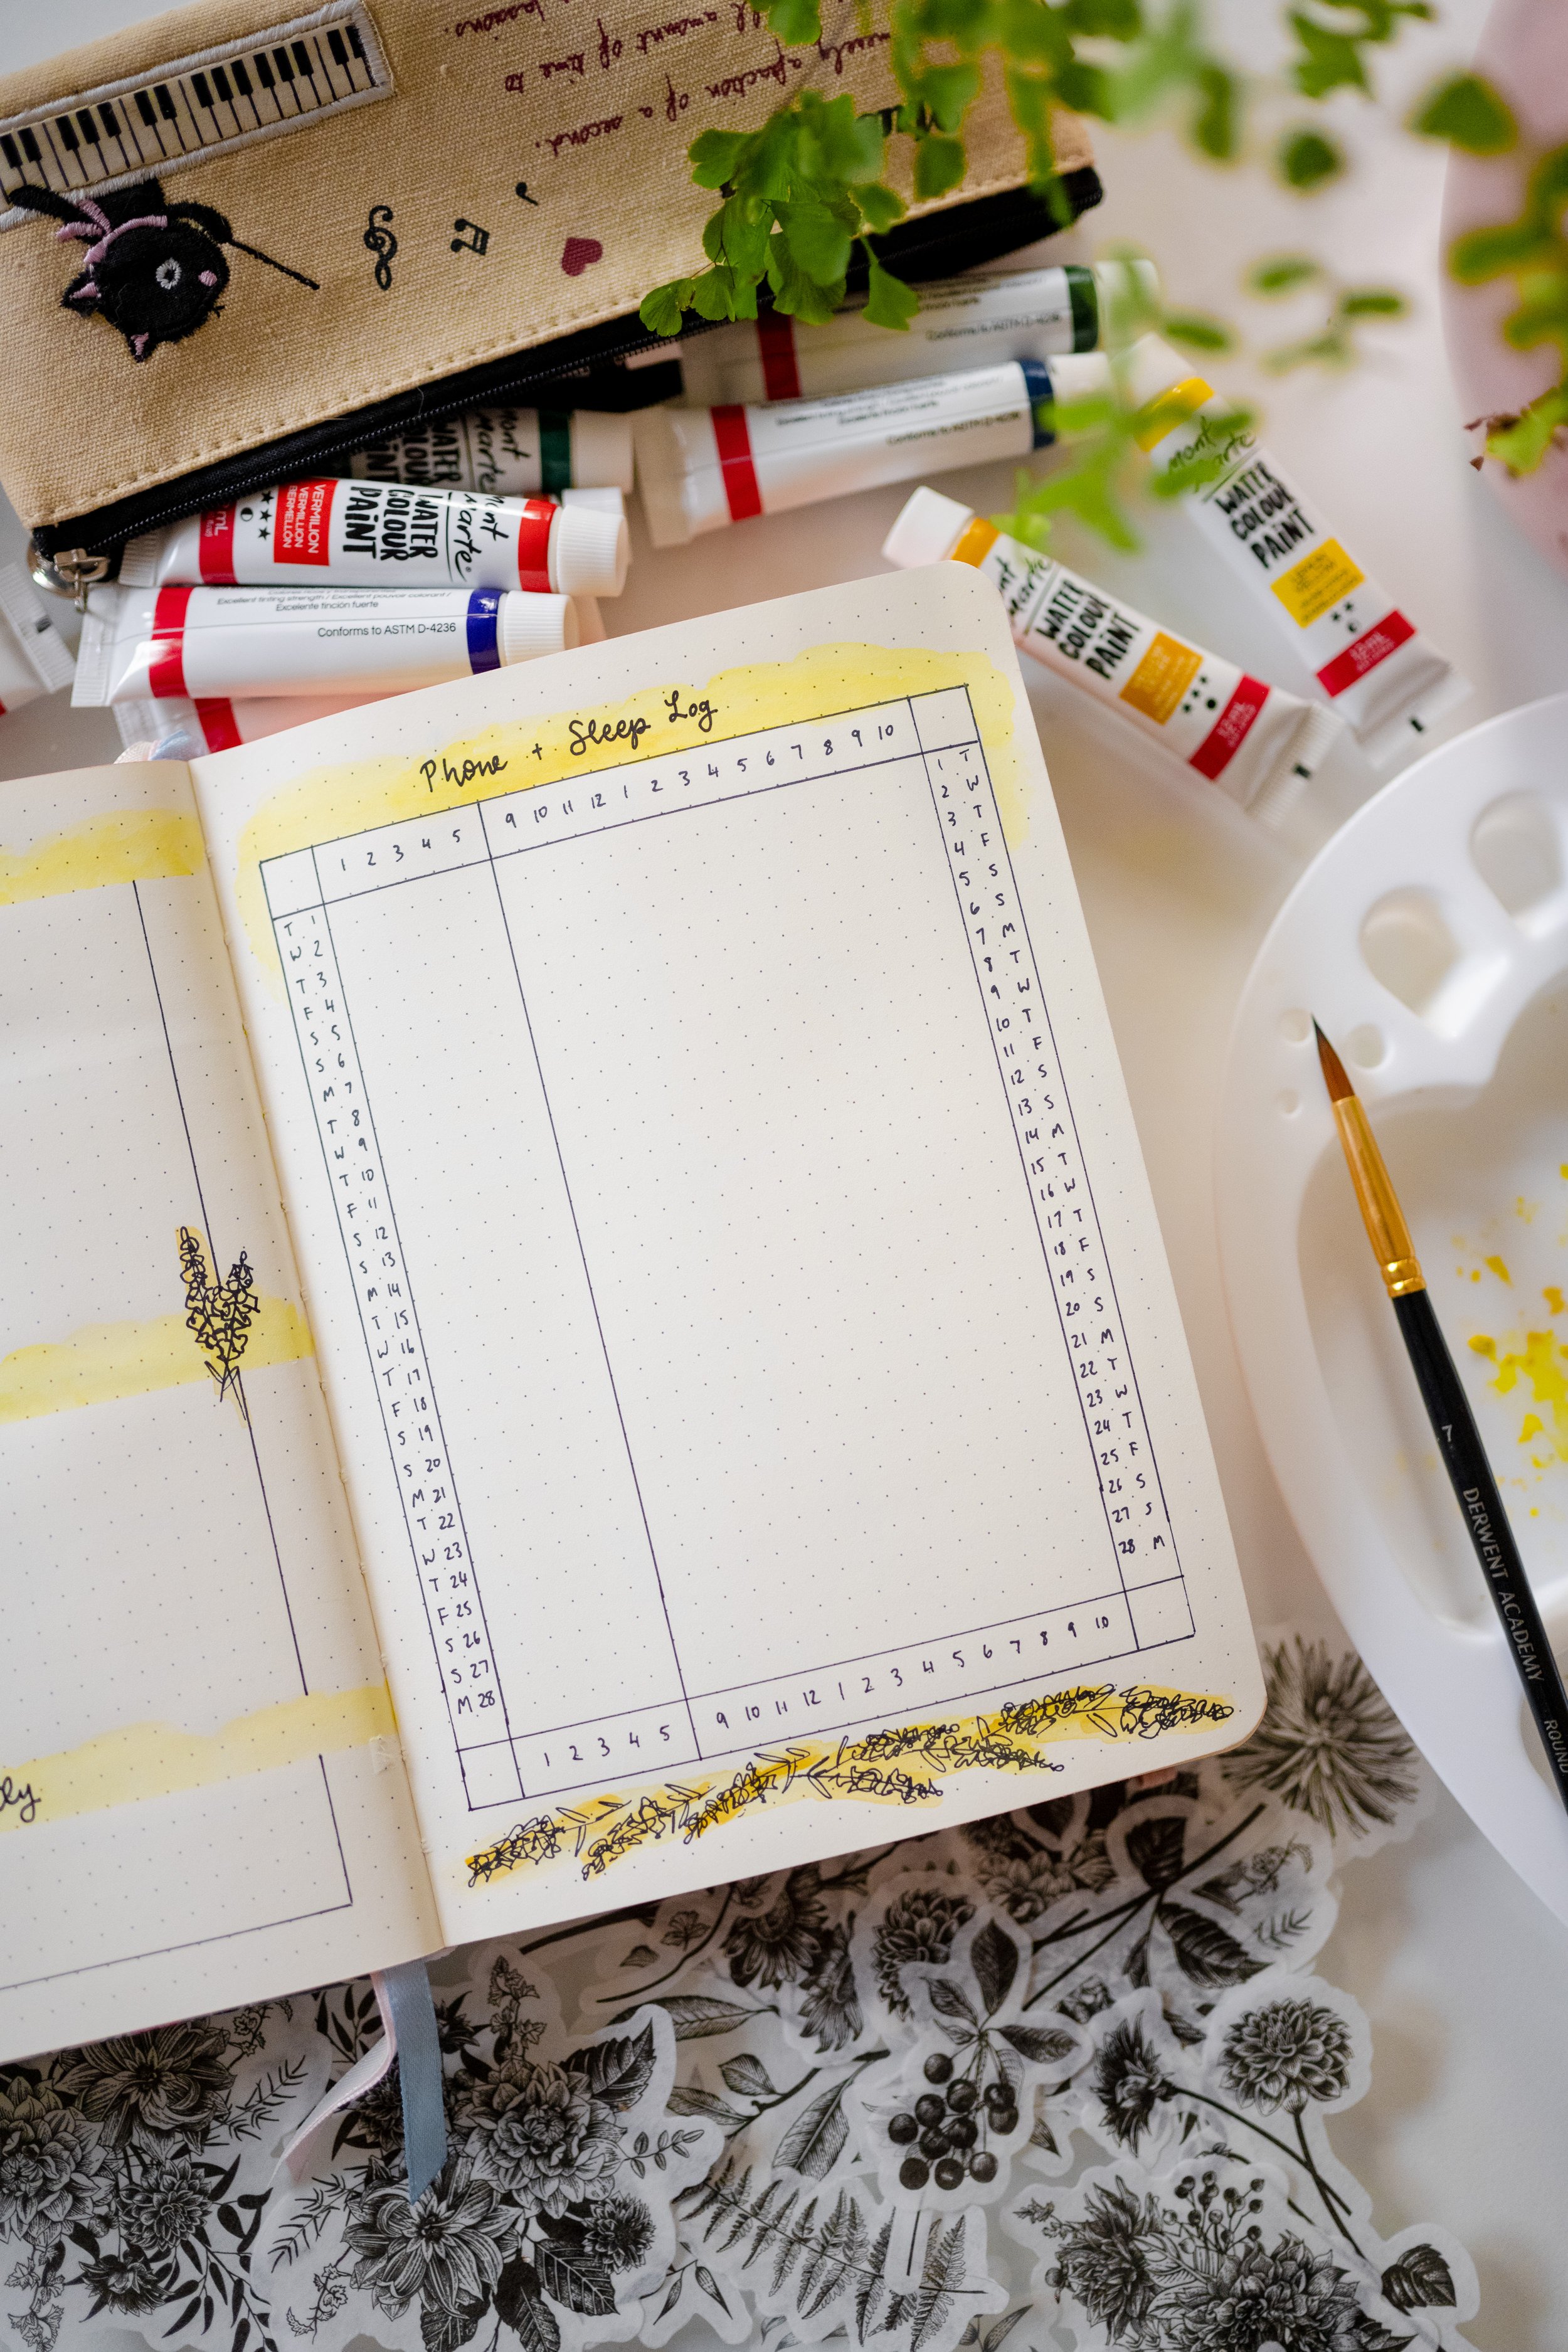
The drawback of these Wish stickers is that they’re BIG - too big to use across pages like these, so I’ve introduced a new decorative element - these little scribbled florals. In my travels across the web, I saw snapdragons mentioned as an auspicious flower, and I watched a couple of tutorials and thought - “nah, I’m not feeling like doing that much work!” These little scribbles are my lazy-girl homage to snap dragons, or potentially any other plant you think they might like look like! They’re just a stem with a triangular scribble over two thirds of it, and a couple of pointy leaves towards the bottom. Truly one of the easiest DIY floral decorations I’ve ever used!
I’ve highlighted the flowers with a little watercolour, as well as used the yellow as a heading backdrop and divider between sections.
Habits & Mood Tracker Spread


This mood tracker makes me happy - I love a simple colouring element that results in a pretty page at the end of the month! There was no way I was breaking out the watercolours every day though, so I’ve opted for three yellow brush pens instead.
The habit tracker is the same tried and true tracker I’ve used for months now - if it ain’t broken, right?
Weekly Spread


By the time I get to my weeklies I want simplicity! I love this layout - space for daily events on the left page, lots of room for a running to-do list or rolling task list on the right page. I’ve added my watercolour one more time as a base for some more stickers, and that’s it! I always want my weeklies to be easy to replicate, as I usually stick to one style of weekly for an entire month.
Here’s everything I used to make this!
Some of these links may be affiliate links, which means I earn a small commission if you make a purchase from that link. I promise it won’t cost any extra for you, and you’ll be helping to support me and my little blog and Youtube channel if you do use them, but it is 100% your choice!
Notebook - The Washi Tape Shop Moonbeam journal - use code ERINSMITH10 to get 10% off your order!
Watercolour paints - Montmarte Watercolour Paint Set 12pc 12ml
Stickers: 60pc Paper Stickers from Wish (item 11)
Fineliner: Sharpie Pen
Mood tracker yellow pens: Tombow Dual Brush Pen Light Ochre 991, Faber Castell Pitt Artist brush pens in Light Yellow Glaze 104 (from the pastel set) and Cadmium Yellow 107